I just finished making a Cross cut and Rip cut Jig for my new TableSaw.
I came up with the design after watching hundreds of Youtube Videos. I combined all the cool things I saw and then added some more.
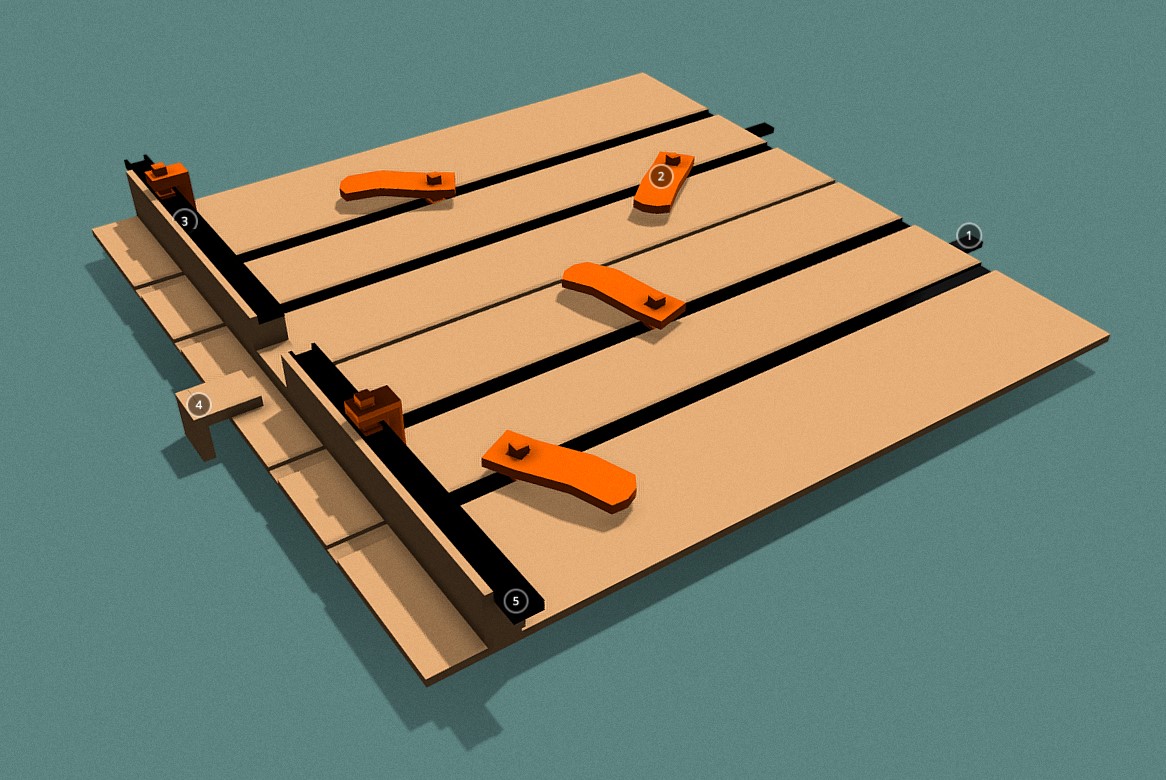
Here is my Concept Design.


This is what the completed Jig for the Table Saw looks like.
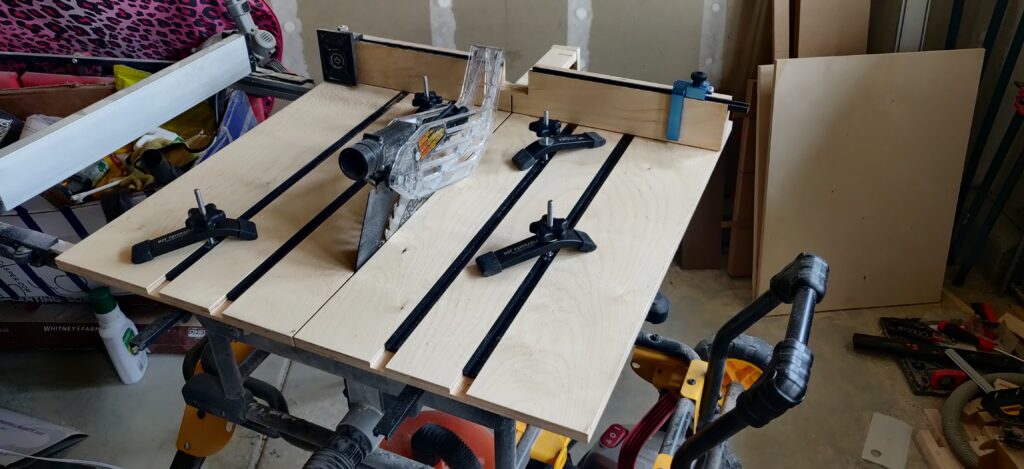

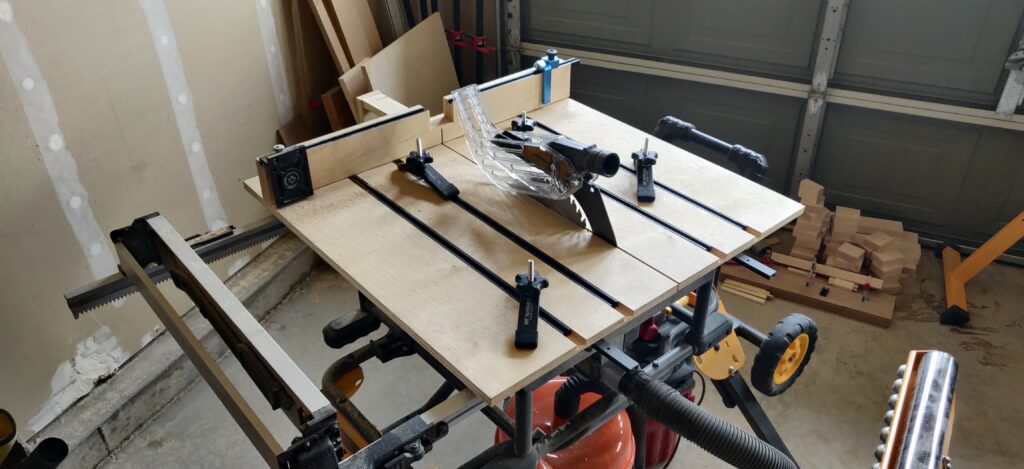
Here are the details of the Build.
Made with Birch Hardwood Plywood. It’s a 2.5 feet X 2.5 feet, 3/4 inch thick Jig for Cross cuts and Rip cuts with extensions on both sides for larger sized Cross and Rip Cuts. It uses 4 Hold Downs and 2 Stop Blocks for the wood. It has space for the Blade Guard to pass through, so you never have to remove it. A notch on the fence to direct all the saw dust. It also has a Stop Block to avoid cutting past the fence and breaking the jig or your hand 🙂
Here’s the index from the 3D model.
1. T-Track + extension
3/4 T-Tracks that fit into Table Saw’s Miter slot with extensions. The extensions help slot the Jig into the Table Saw. And are also used to attach another Jig for larger Rip cuts.
2. Hold-Downs
T-Track Hold Downs are used to Hold Down Wood for Rip cuts and Cross cuts.
3a. Fence Stop Block
T–Track Fence Stops blocks used for repeated Cross and Rip cuts.
3b. Notch
Notch on the Fence for easy Dust collection.
4a. Stop Block
Used to stop the Table Saw Blade from cutting through the Jig.
4b. Blade Guard
Space for the Tablesaw blade guard to pass through.
5. T-Track + extension
T-Track for the Fence Stop Blocks with extension. Another Jig can be attached to the extension for making larger Cross cuts.