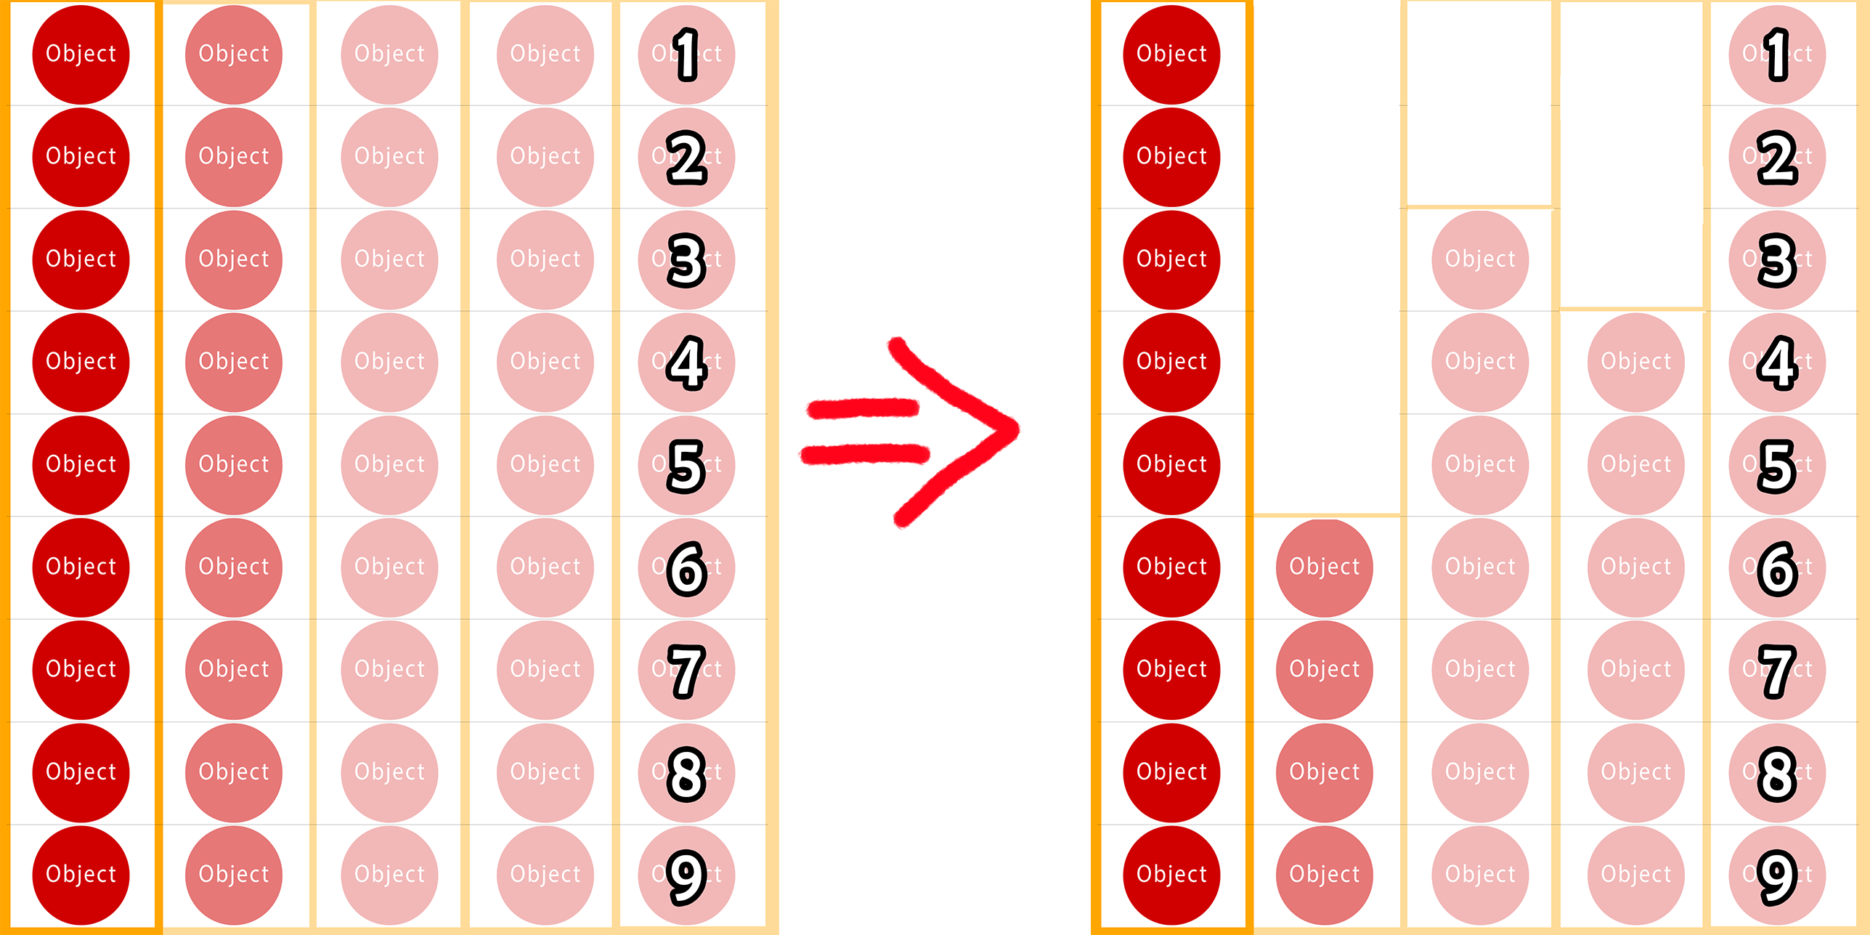
This article covers use of Blend Shapes in Unity for a problem that would have used up a lot of Art resources and time.
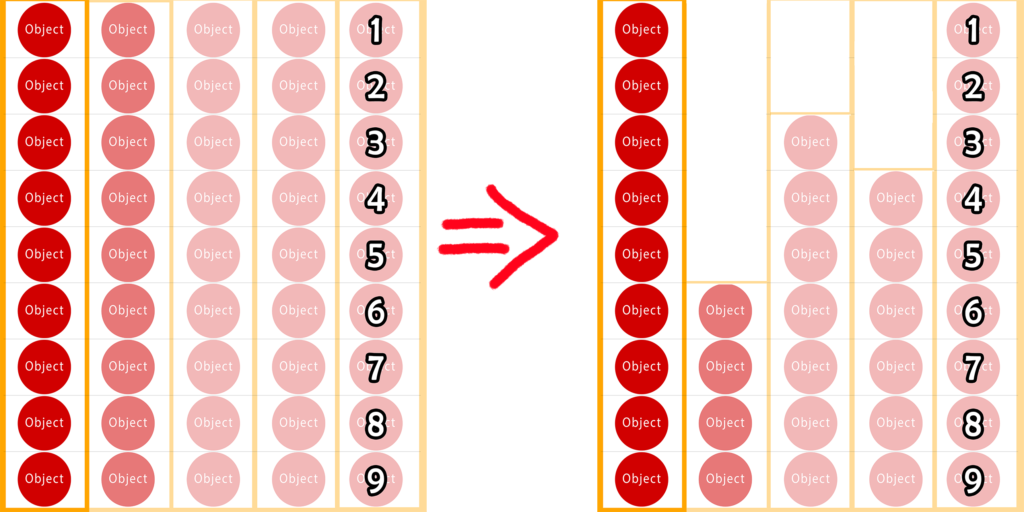
In my next Game we had reels that were suppose to change size during gameplay. Like if we started from a 9 column reel this could change to any size from 1 to 9. This was true for the rest of the rows too.
Traditionally that would mean 9 animations per row. Let’s say we had 5 rows then, 5 X 9 = 45 animations.
Then there was the Art that needed to be made for every size of the column.
So, this was turning out to be a lengthy setup and hard to iterate.
Unity’s custom Pivot to the rescue…maybe not today…
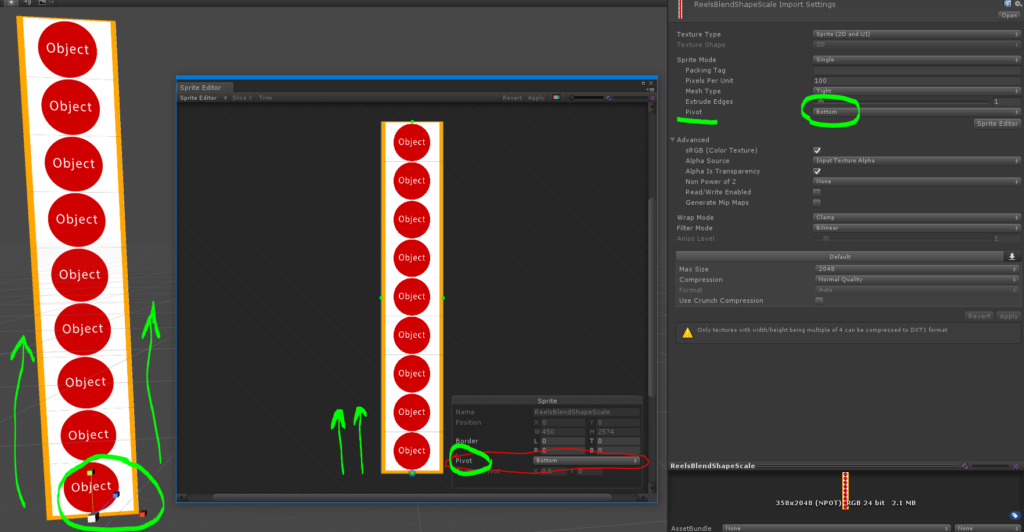
In Unity, you can change the pivot of your sprite to define where it would transform from. So, that means I could place the pivot location to the bottom of the reel and then scale to change the reel’s size!
You can go into your Sprite’s inspector and select a different pivot location. You can open up the Sprite editor to see this location and even make a custom one. So, this worked great! Just like how it’s suppose to. But didn’t give me the result I expected.
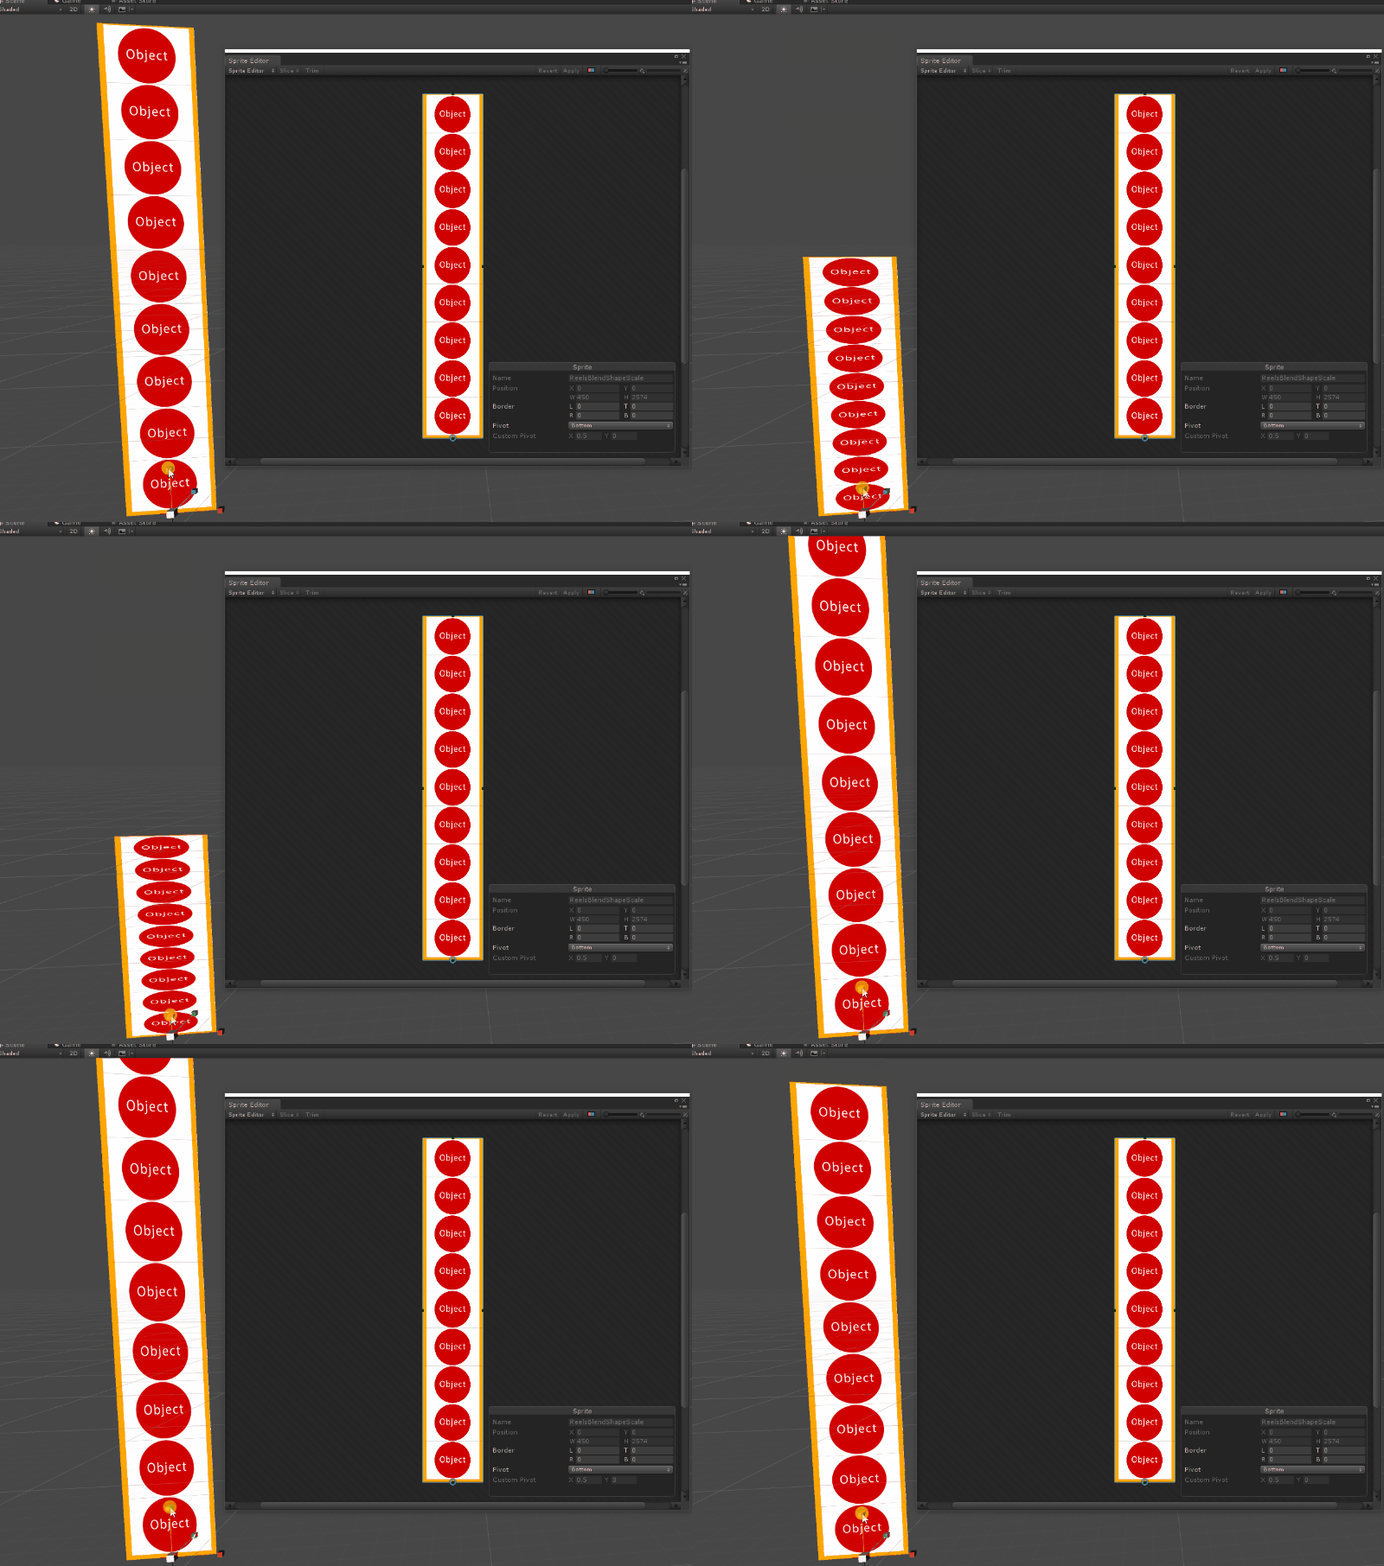
This solution works for changing the reel size. But it causes the textures on the reel to stretch and squash. Hence, not suitable for this problem. So I took another crack at this.
Blend Shapes to the rescue…probably…
Unity can read mesh morphing / blend shapes/ skinned meshes via scripts. You can use a 3D software like Maya to make Blend Shapes and use them in Unity. You can use multiple shapes with weights and it all works in Unity!
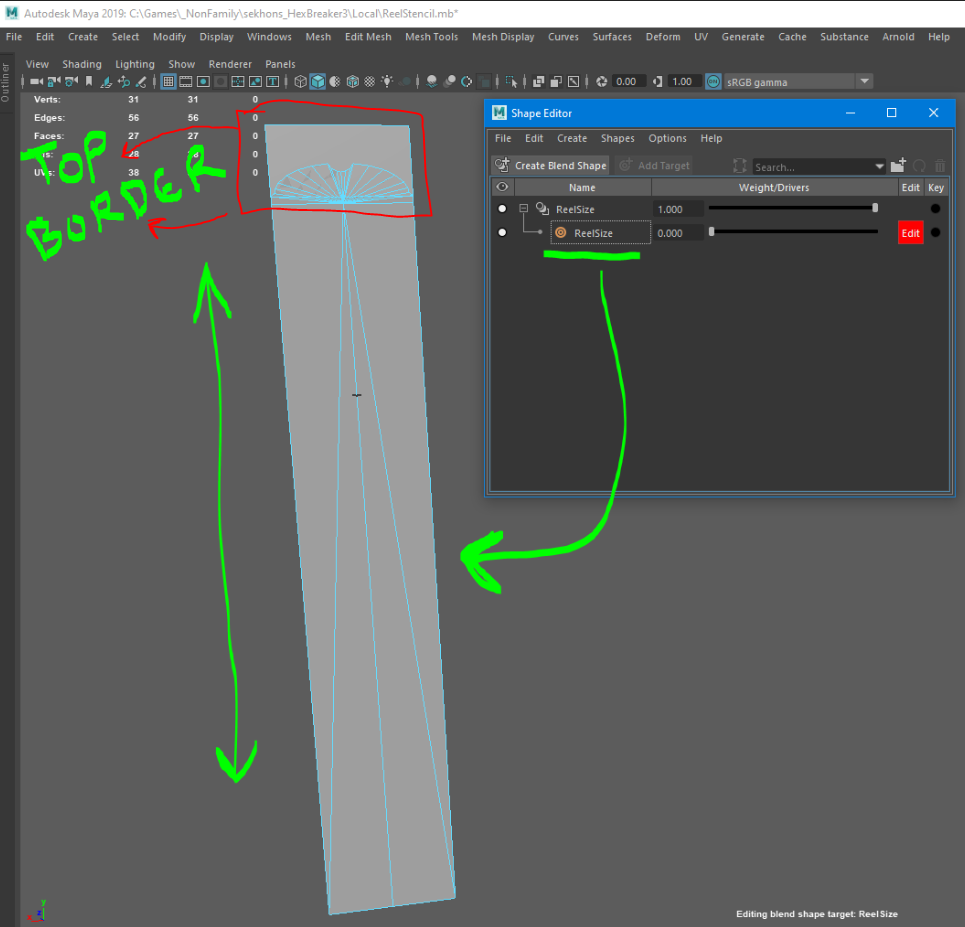
Before, we go into Unity, here’s an example of the Blend Shape I used in Maya for the Reels.
I used Blend shapes to update vertex positions in Maya. These vertex initial and final positions were defined by a variable slider called “Reel.Size“.
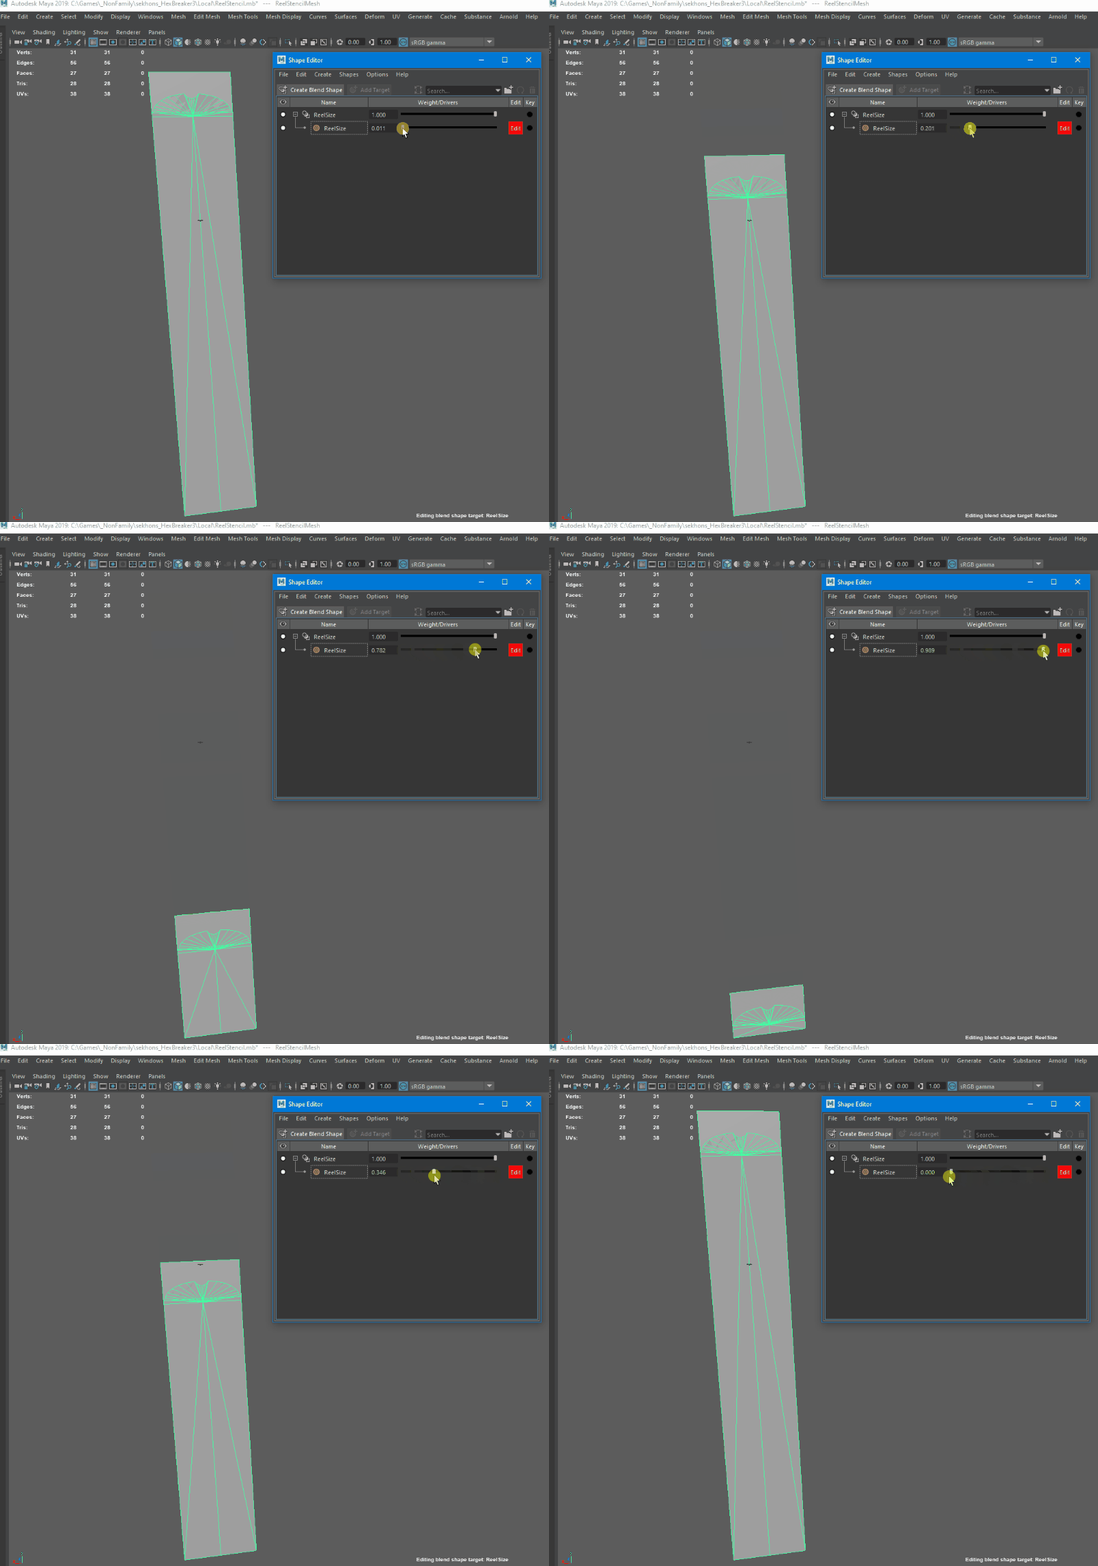
The Top Border of the reels had a border. This border needed to move along with the reel changing size.
So, I attached another mesh on top the reel mesh as the place where the Reel Top border can go. Since this was attached as an extra mesh, there was no stretching on it!
Now, to get all this stuff into Unity and setup the shaders.
In Unity I had 2 materials for my mesh. One for the Top Border. And the other for the Reel mesh Size.
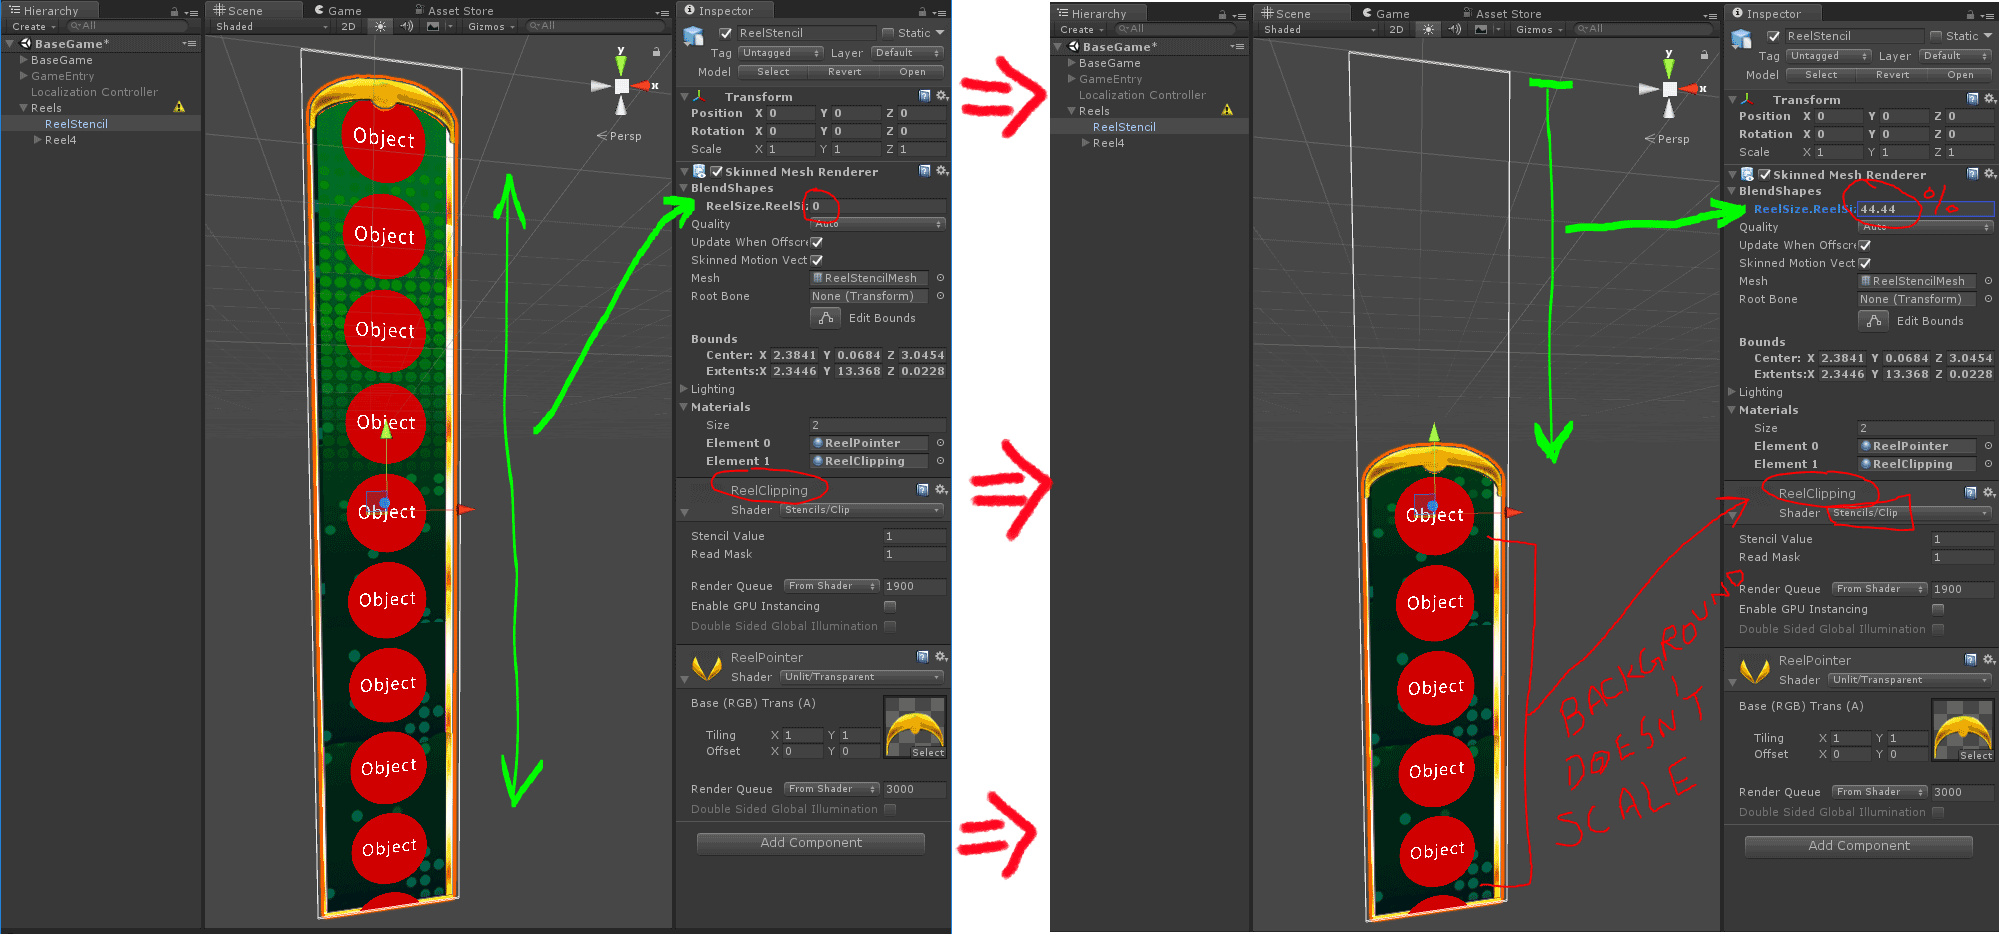
I decided to add a stenciling clip material to the Reel mesh. I would then place the Reel background behind this stencil.
This will give me the ability to change the reel size without moving the background.
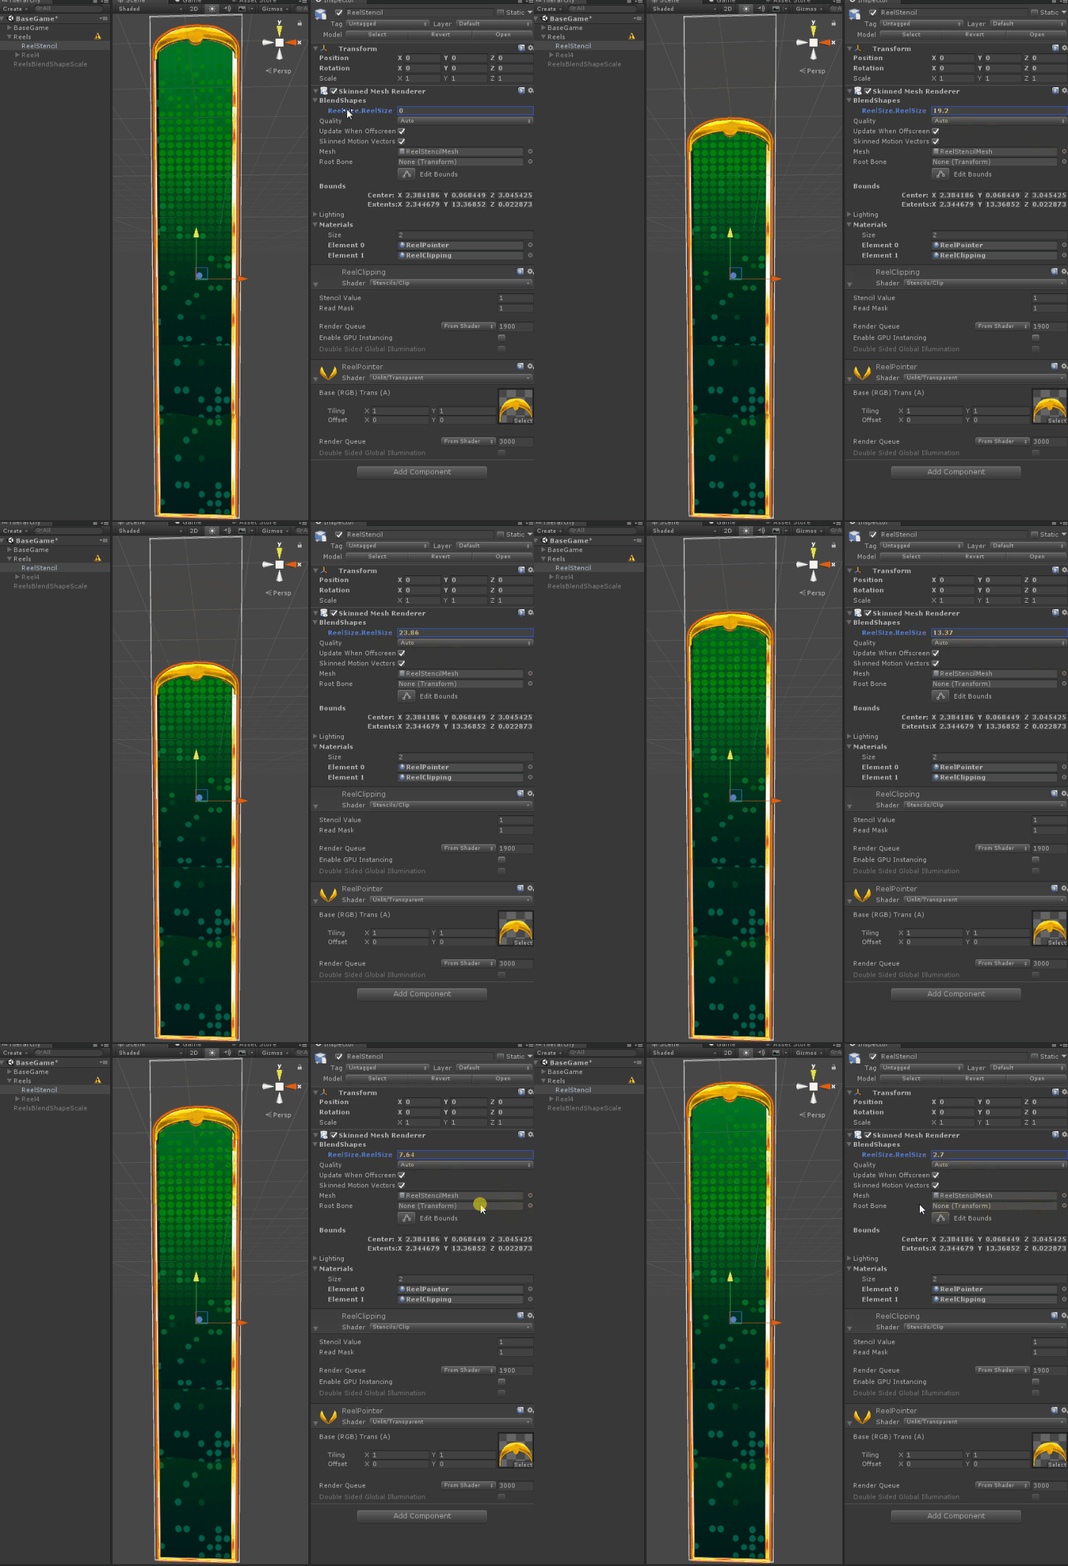
Also, note the previously added Top Border mesh is also working correctly and not squishing or stretching.
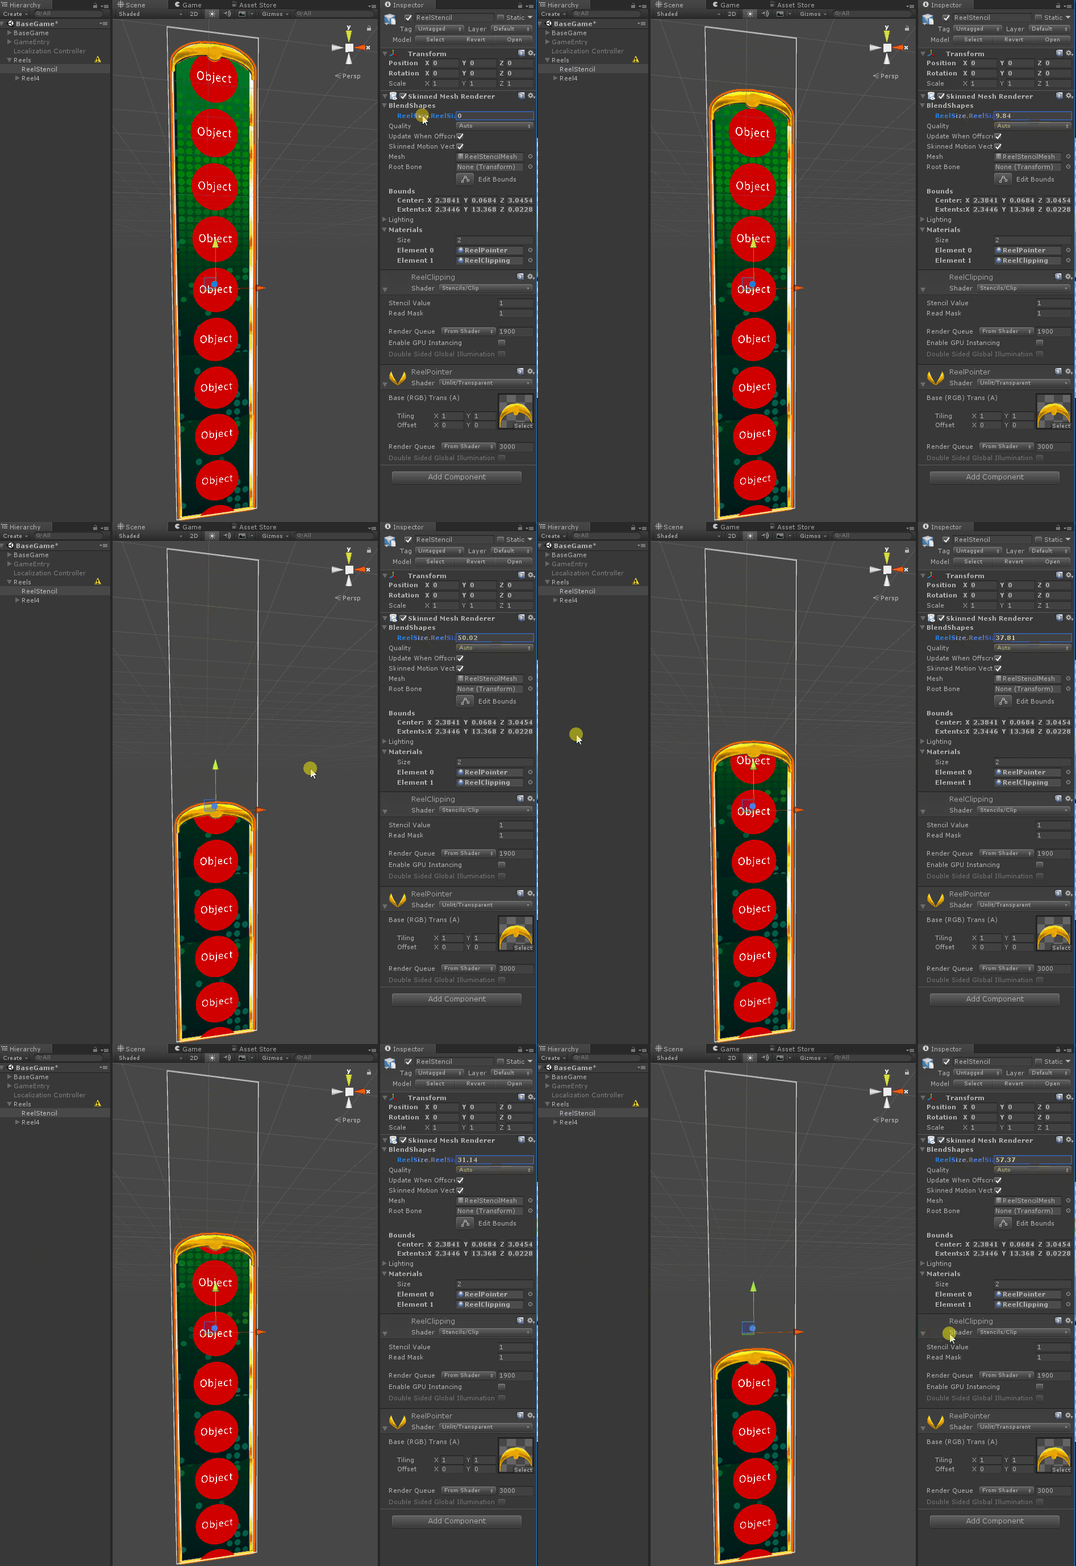
Here’s the final result with symbols Object added to the reels.
As you can see, the 0 to 1 slider converted to 0% to 100% in Unity. So that means we would have to divide this 9 times for our 5 X 9 reels.
That means if I needed a reel size of 5. I would make the Reel.Size value = 44.44. And that’s it!
This setup could now easily be scripted and controlled by the engineer to change the reel size on the fly.
Using this Blend Shapes method, I was able to avoid the tedious 45 animations and animators setup. Plus no stretching or squashing anywhere. Lastly, revealing the background this way gave our Artist to do something cool with the background textures.
