While optimizing, I also dabbled with the Sprite Meshes that Unity generates. They are usually optimized towards mitigating alpha and result with a high poly count. Eventually you end up with the opaque rendering overtaking the transparent draw calls.
Eventually one side would bottleneck and balancing each side then becomes my mission. Luckily, with a few clicks here and there you change to have more polys or alpha in unity. The downside, you have to do this manually for each asset.
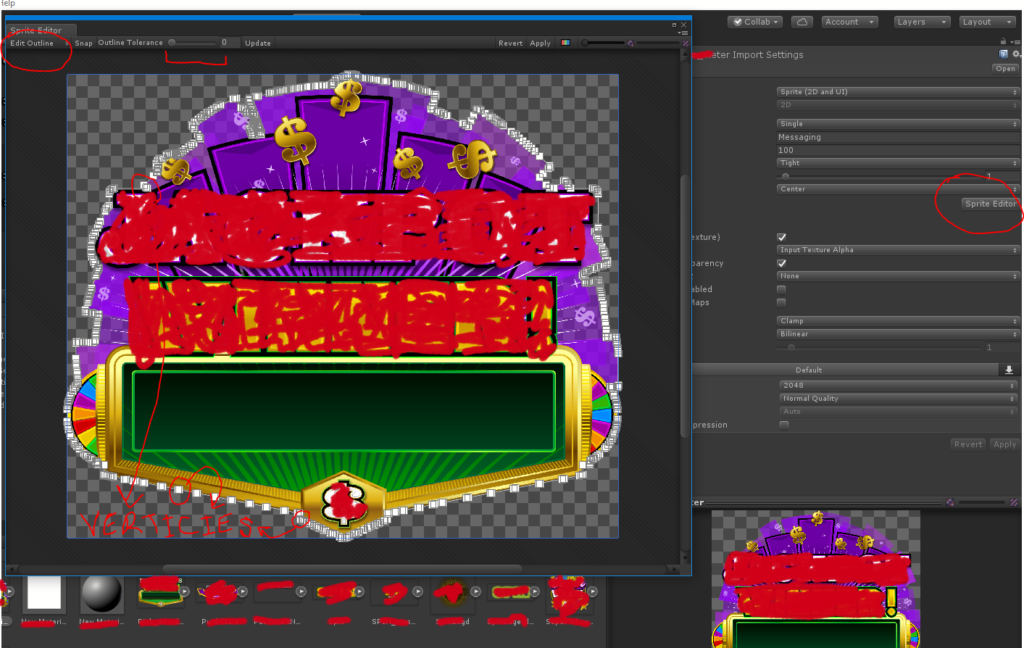
Unity’s Sprite Editor helps you edit the Sprite generated mesh.
There is a threshold called tolerance to automate more polys or more alpha. You could also do this manually by moving each vertex. In the image above, those white squares are vertices! Looks like a million vertices!!…or are they just glittering gems…
Lastly anytime this asset gets an update or gets replaced.
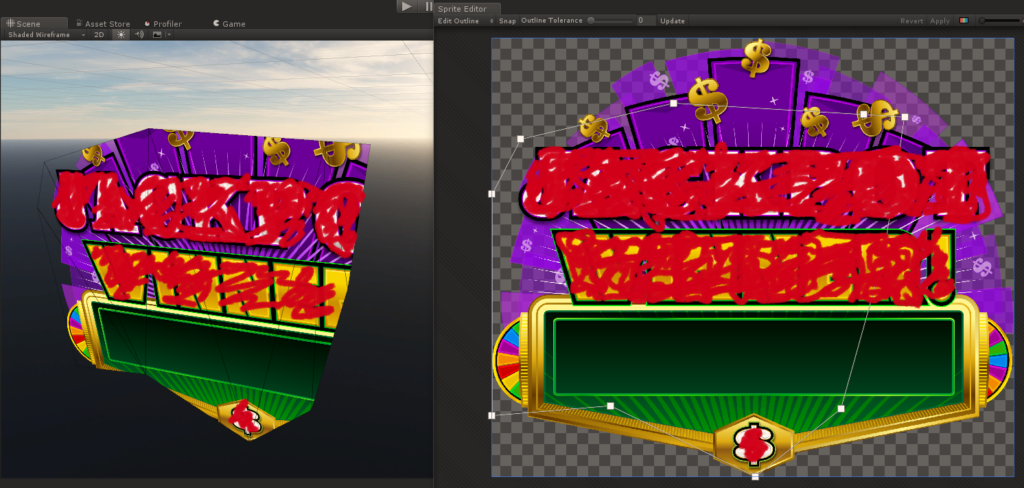
This sprite outline will also have to be updated.
Otherwise, you’d be rendering your new sprite on an older sprite mesh. I’d say that doesn’t always look right. 🙂 Like fitting a circle in a square mesh….unless you want such weirdness, I won’t judge…


