Making a Halftone shader for a new Game. The Artist wants to do Art similar to the movie “Into the Spiderverse”. But not quite as comic-styled. Since our Unity doesn’t support URP and HDRP I couldn’t use ShaderLab to make the shader. Rather than writing the shader I decided to use a node based editor for this shader.
Using a Node based Shader editor
I haven’t used a node based Shader editor in ages as I have been writing all my shader code by hand since school. But I always wanted to learn more node based editing as it seems much faster to debug. I delved into Shaderlab when it came out with the new Unity and spoke to a couple of Unity developers that GDC. I even bought Amplify a few years ago but never got the chance to use it on an official project from work.
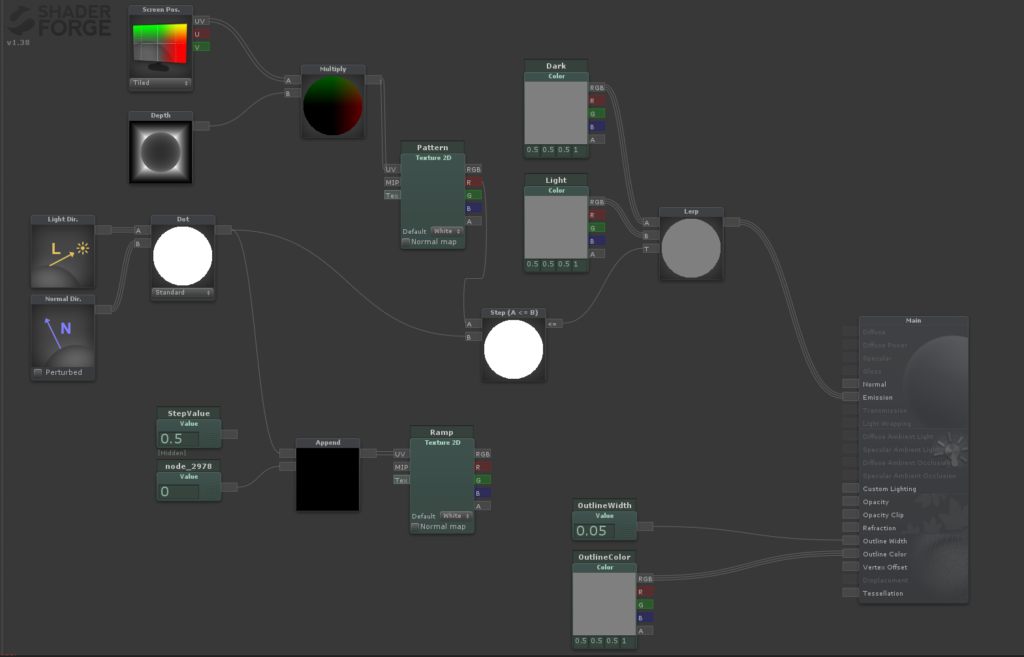
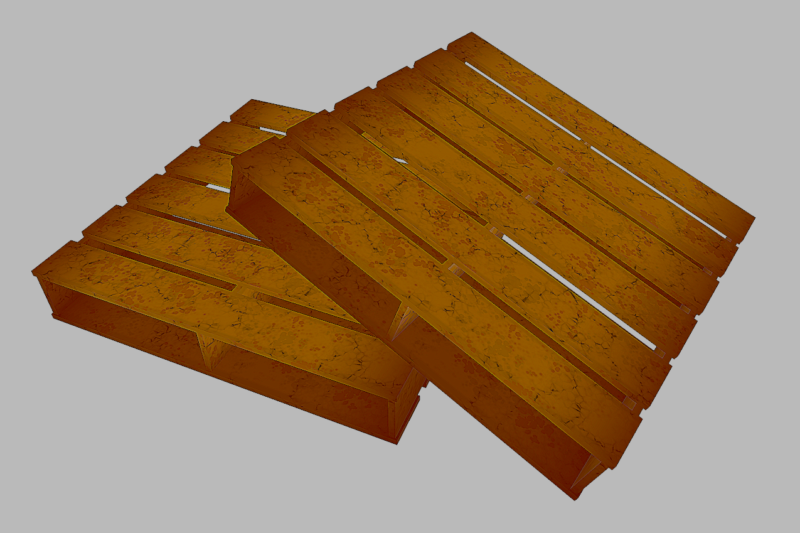
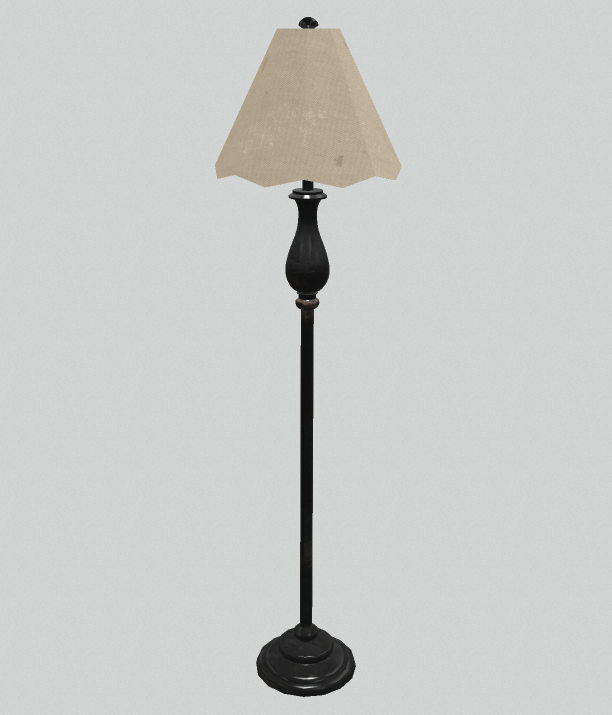
So for my new Game at work the Artist requested a “Into the Spiderverse” like visuals. So, I thought let me make these shaders in Node based editor. Though I am still figuring out how to make it work as an image based shader, so I can just put the effect on the camera. For now testing out a basic halftone shader that clamps the shadows side like a toon shader but a an add texture map.
I used ShaderForge to make this shader. Hopefully I’ll be able to use ShadeForge more in the future.
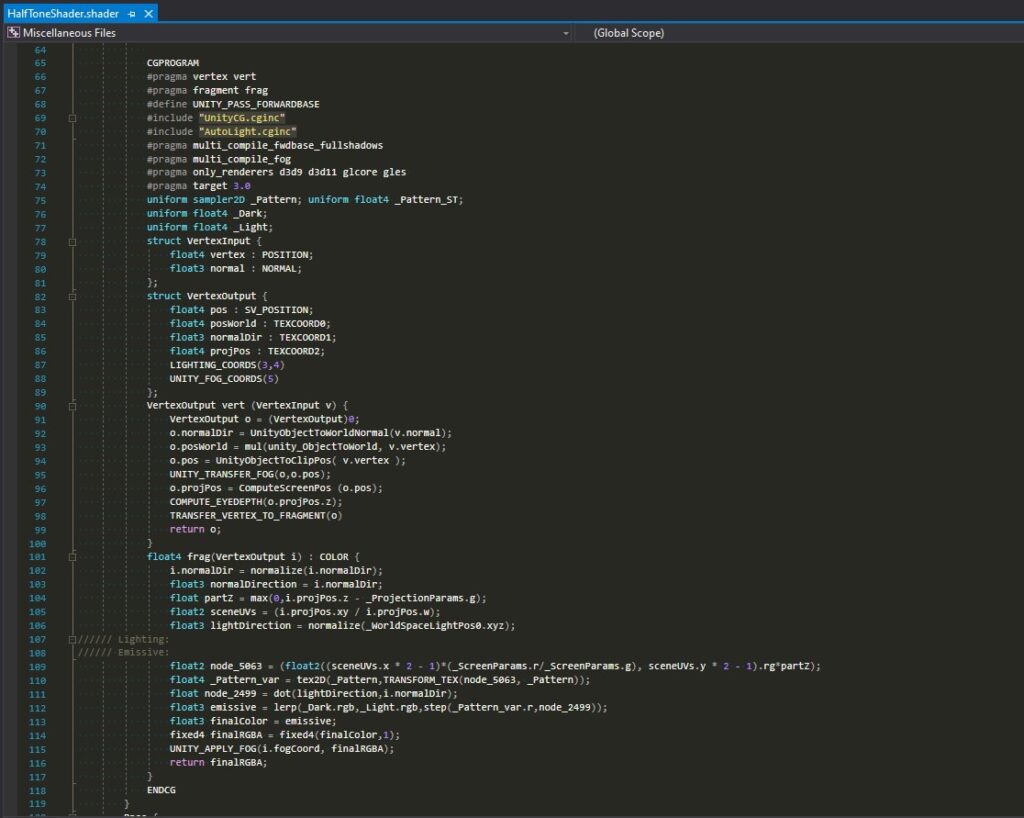
Clean Code produced by Shader Forge
I was pretty impressed with how clean the code that ShaderForge produced was. I have heard real crazy stories on how node based editors produce an insane amount of overhead calls and multiple passes for the simplest shader.