Summary: This article covers the very basic of rigging in Maya using a simple tail mesh with a few joints and controls.
Modeling
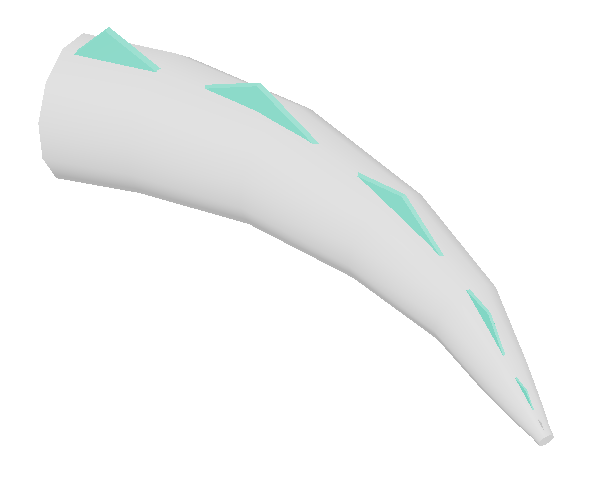
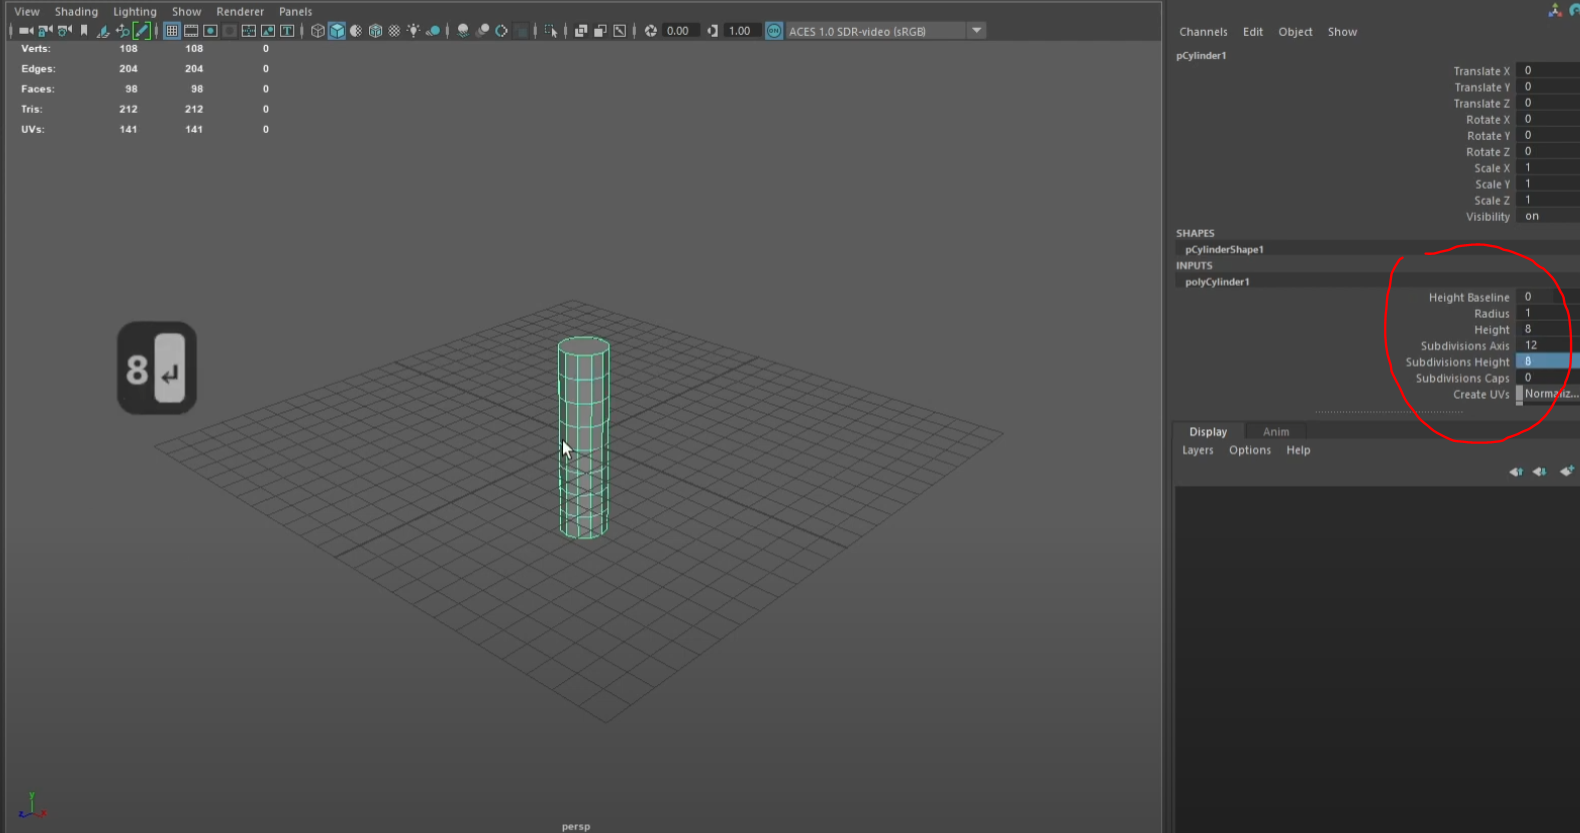
Create a cylinder with the following properties.
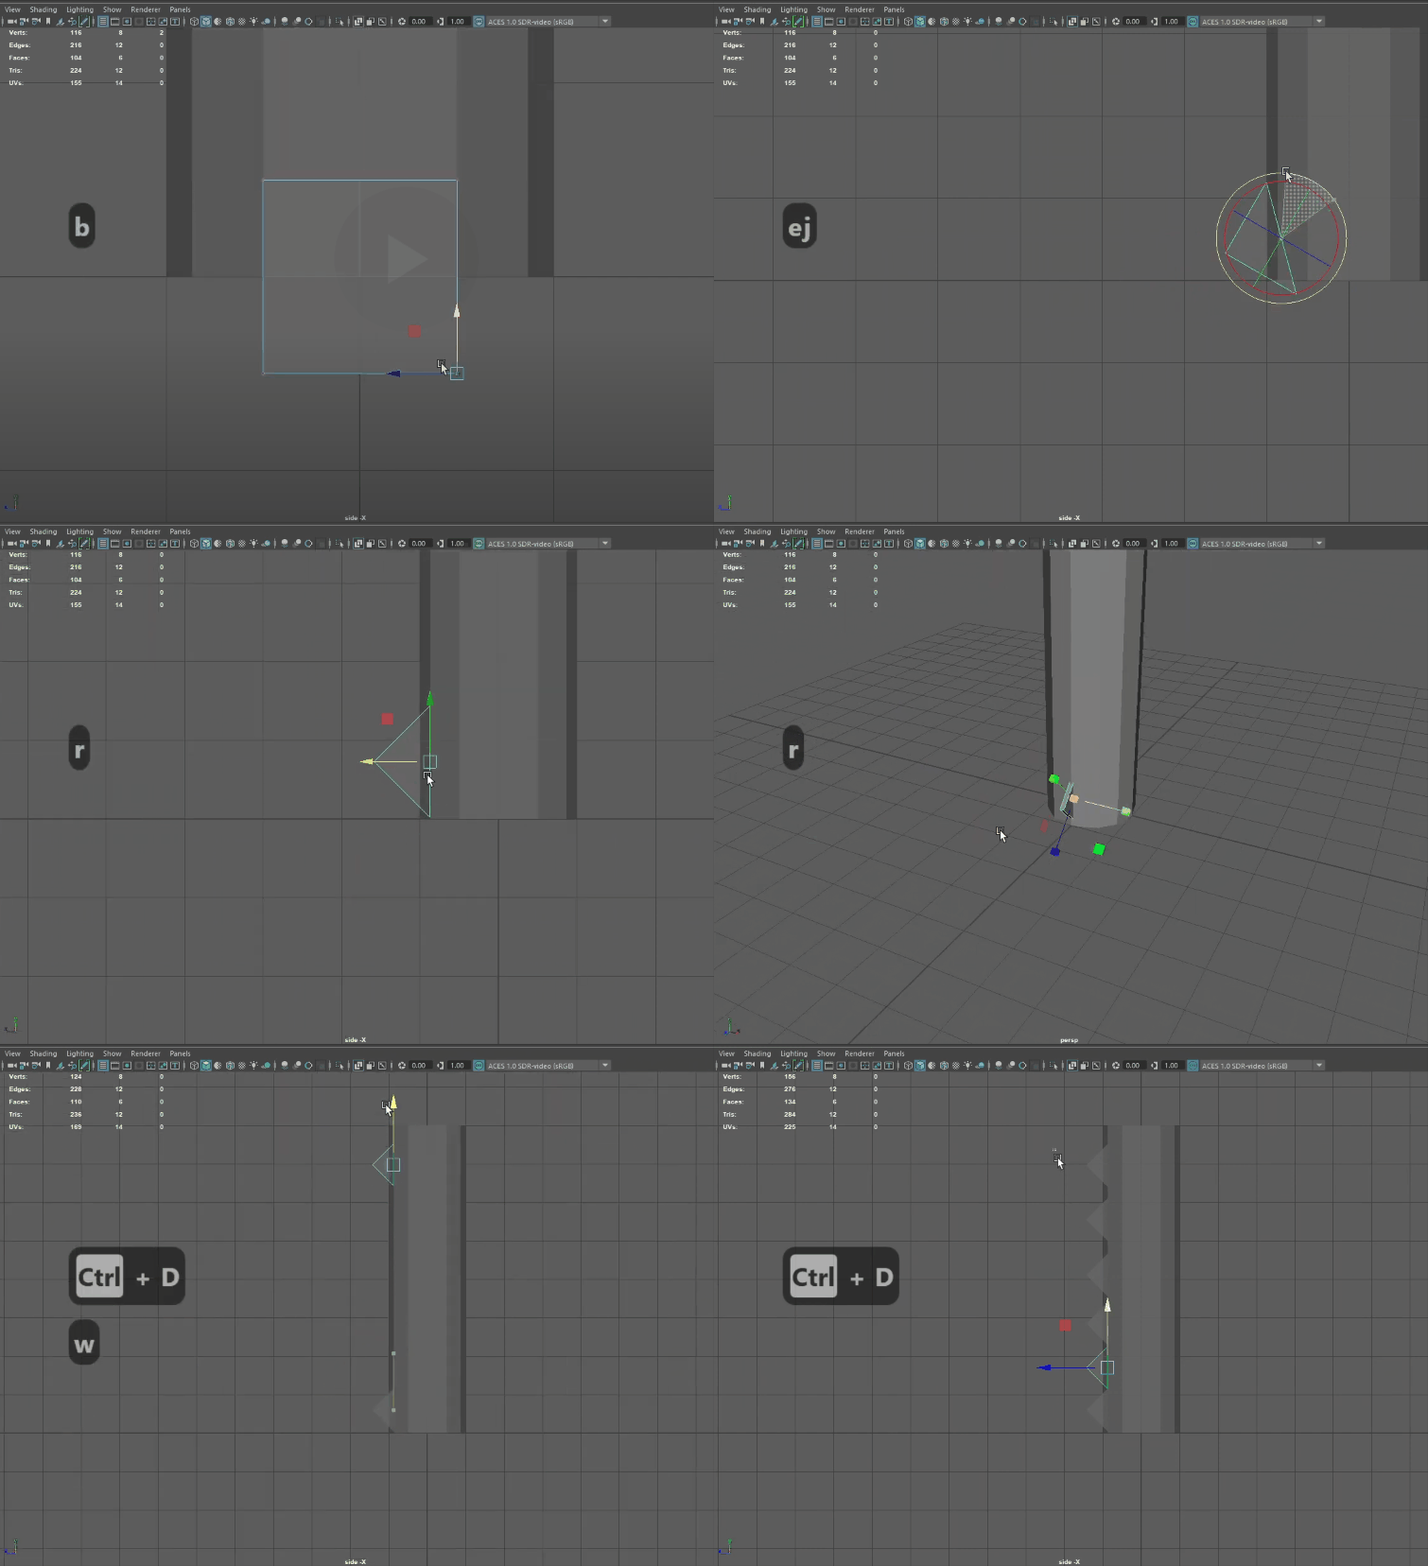
Create a cube and make it into a triangular shape. Place it one corner of the cylinder like a fin along the spine of the tail. Scale it and shape it accordingly. Now duplicate a couple of these fins.
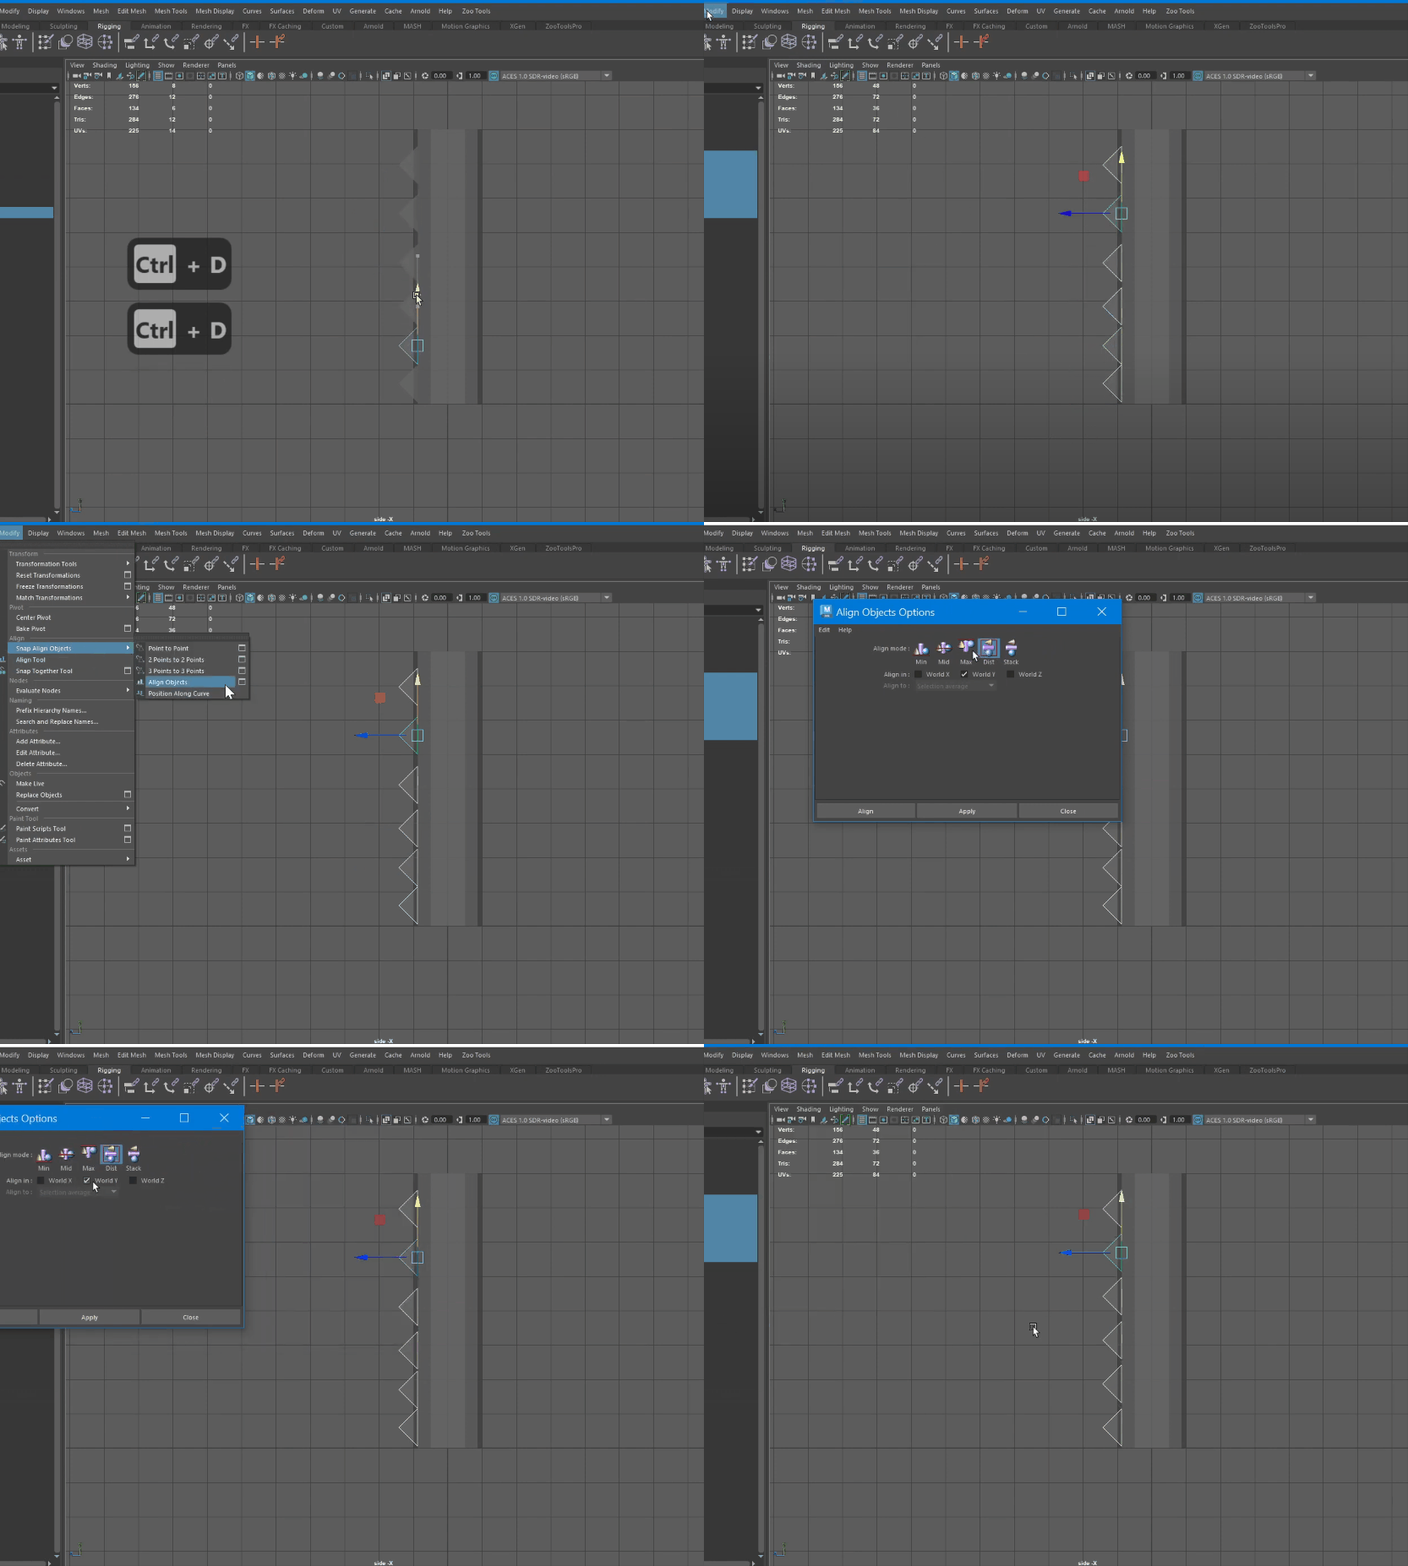
Once you have these duplicated. use Align Objects feature in Maya to align objects in equal distance. Like Photoshop’s align tool.
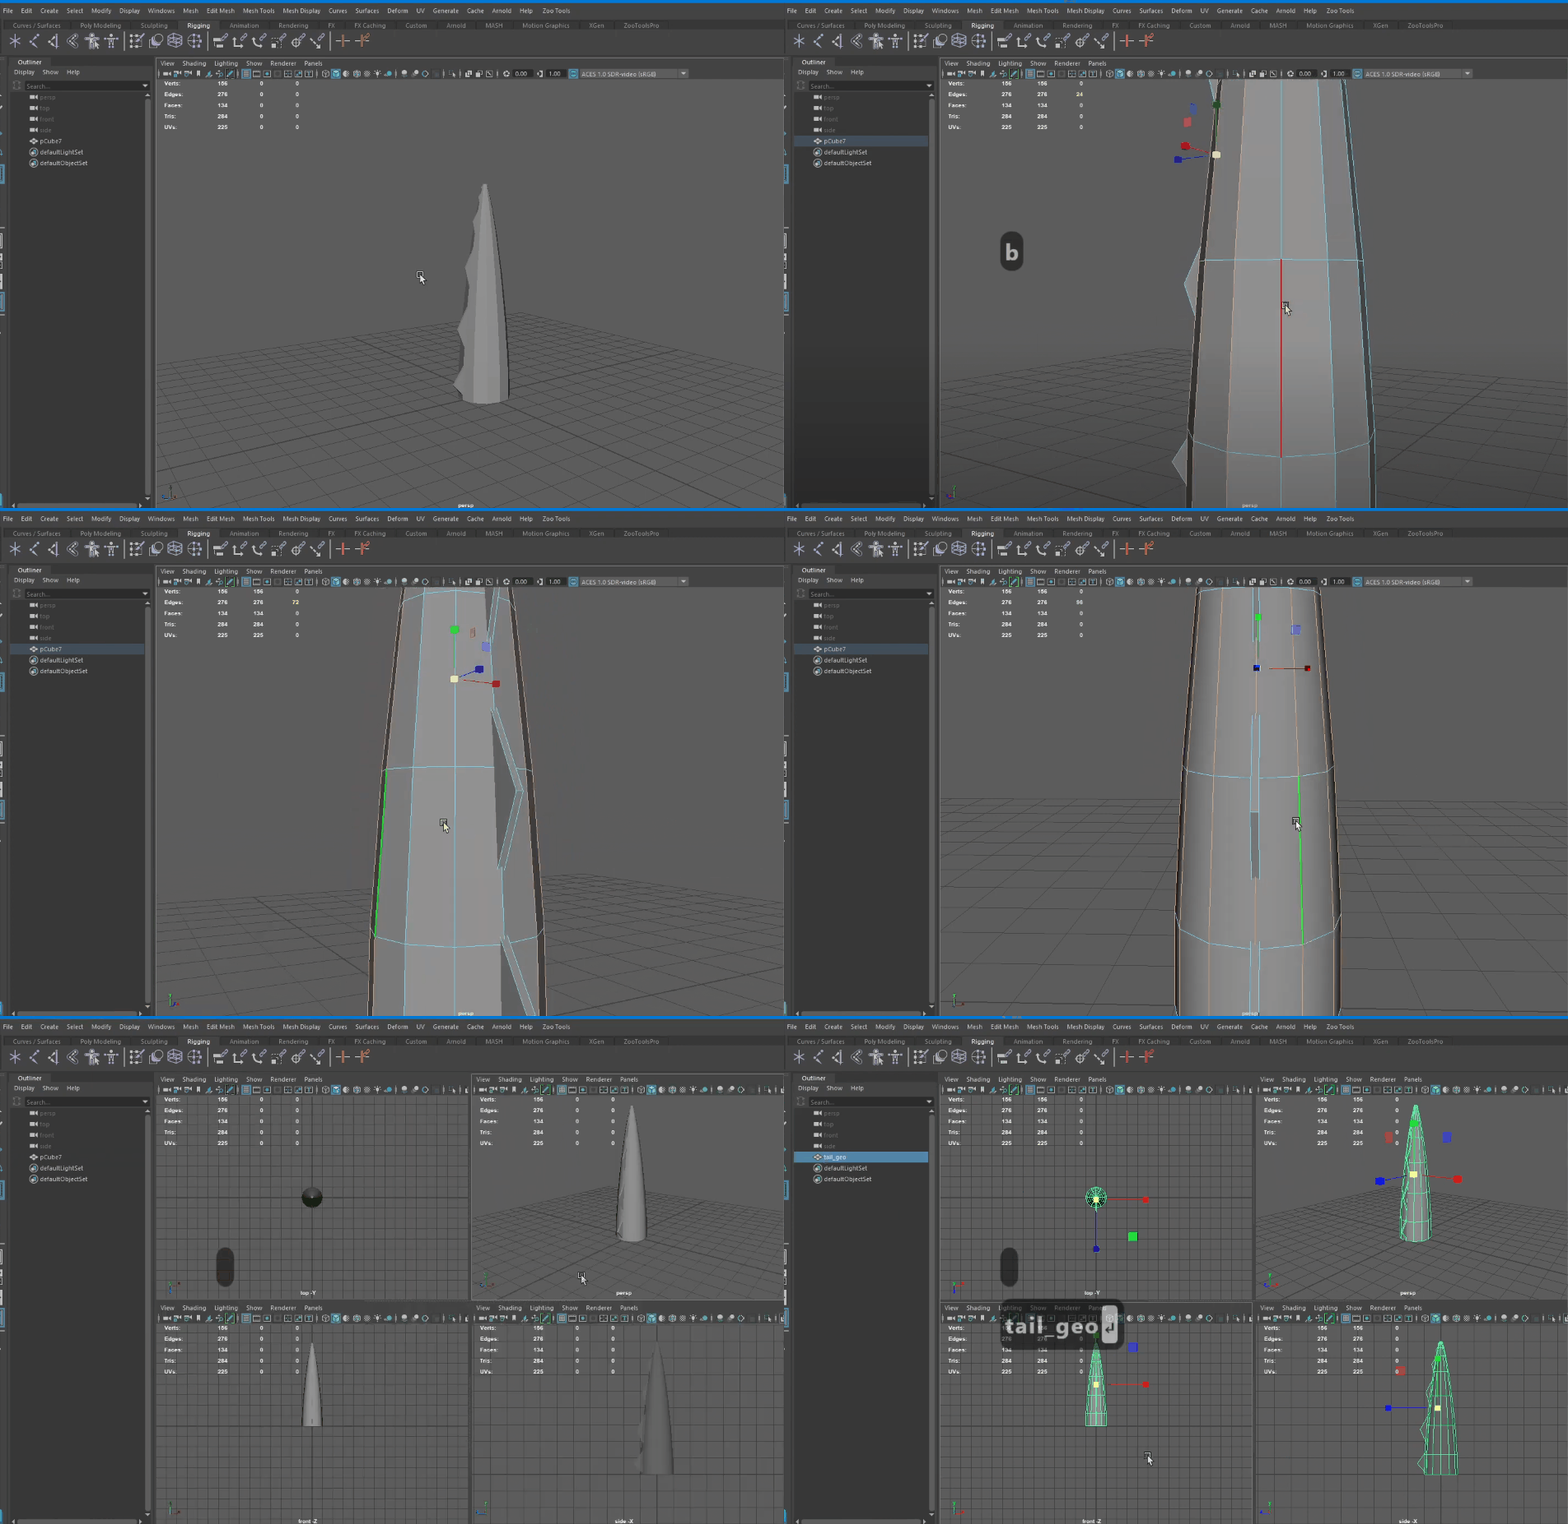
Now combine all the meshes, rename it and scale down the mesh using soft select. Press “B” to bring up soft select. Middle mouse button to change soft select brush size to adjust its effected area.
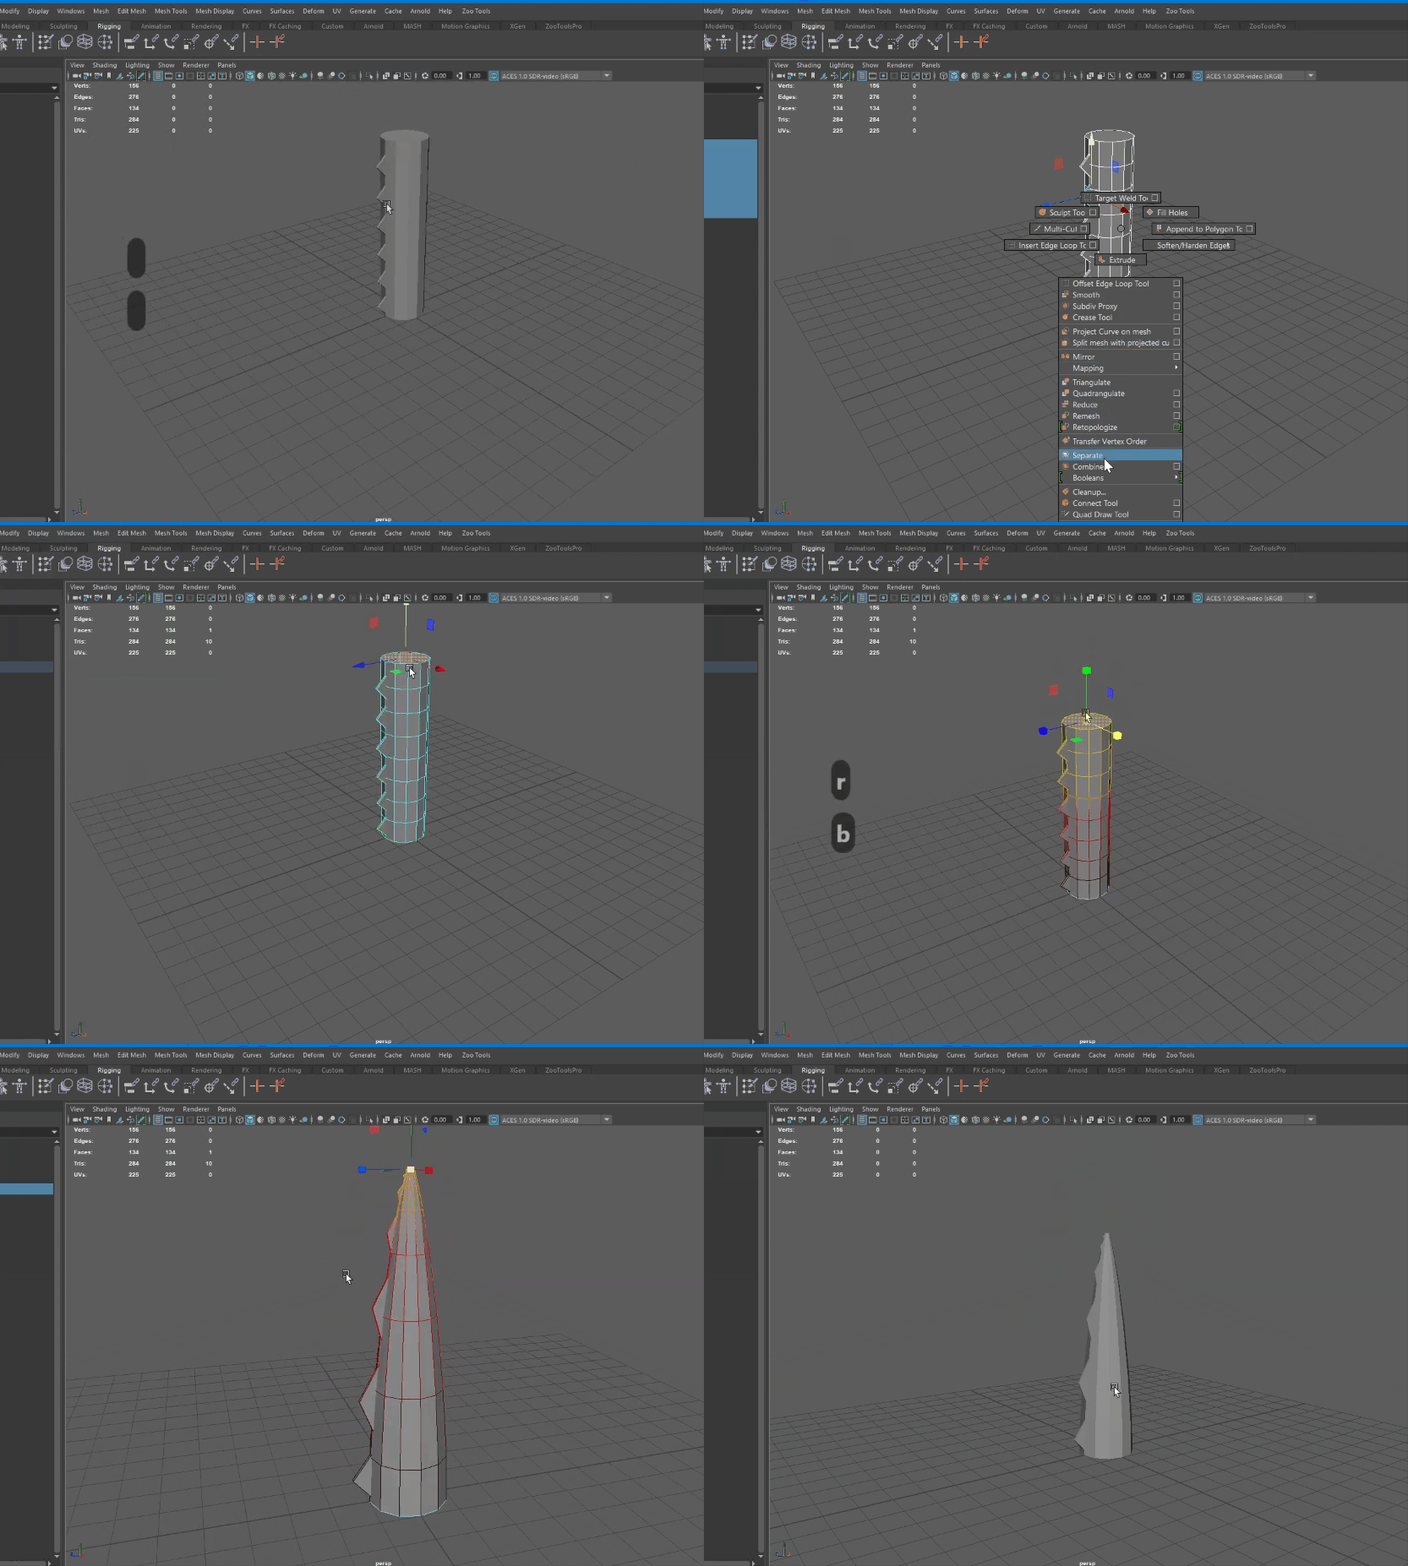
Now make the cylindrical edges soft. And rename the mesh geometry.
Joints
Next we’ll add the joints. We’ll skip the Joint weights painting to keep this tutorial simple.
First of all, lets create joints placing them inside the mesh.
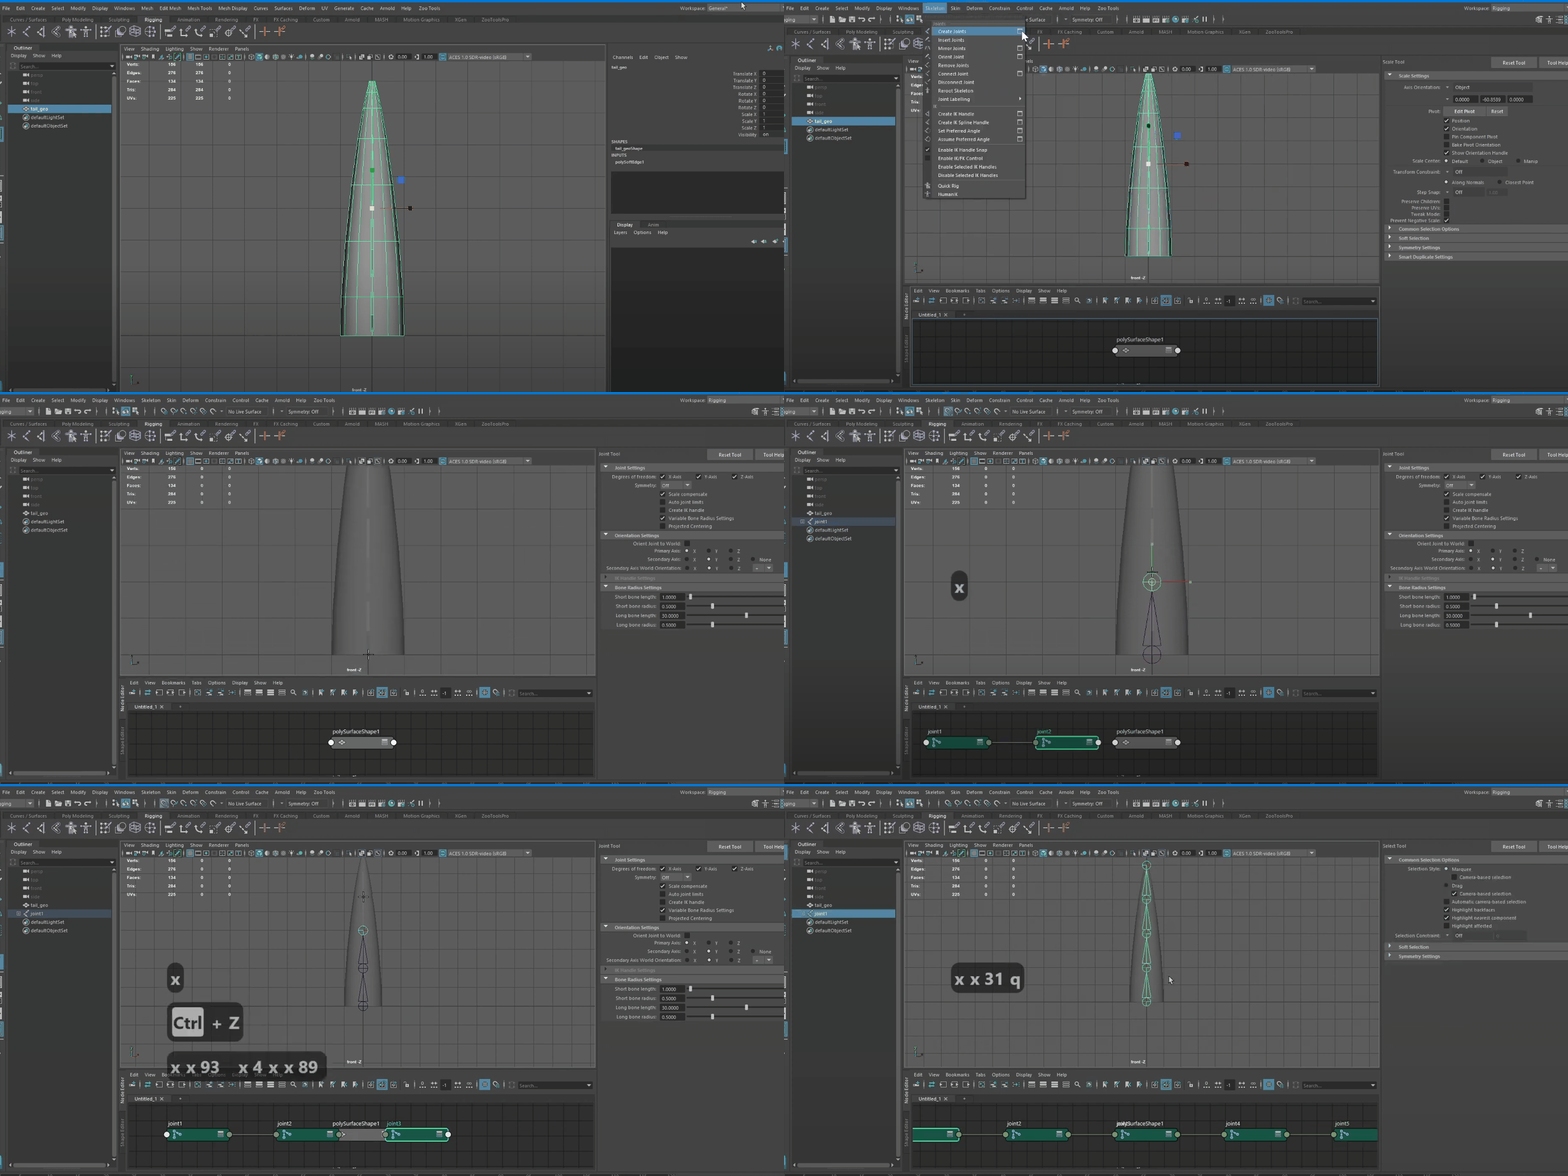
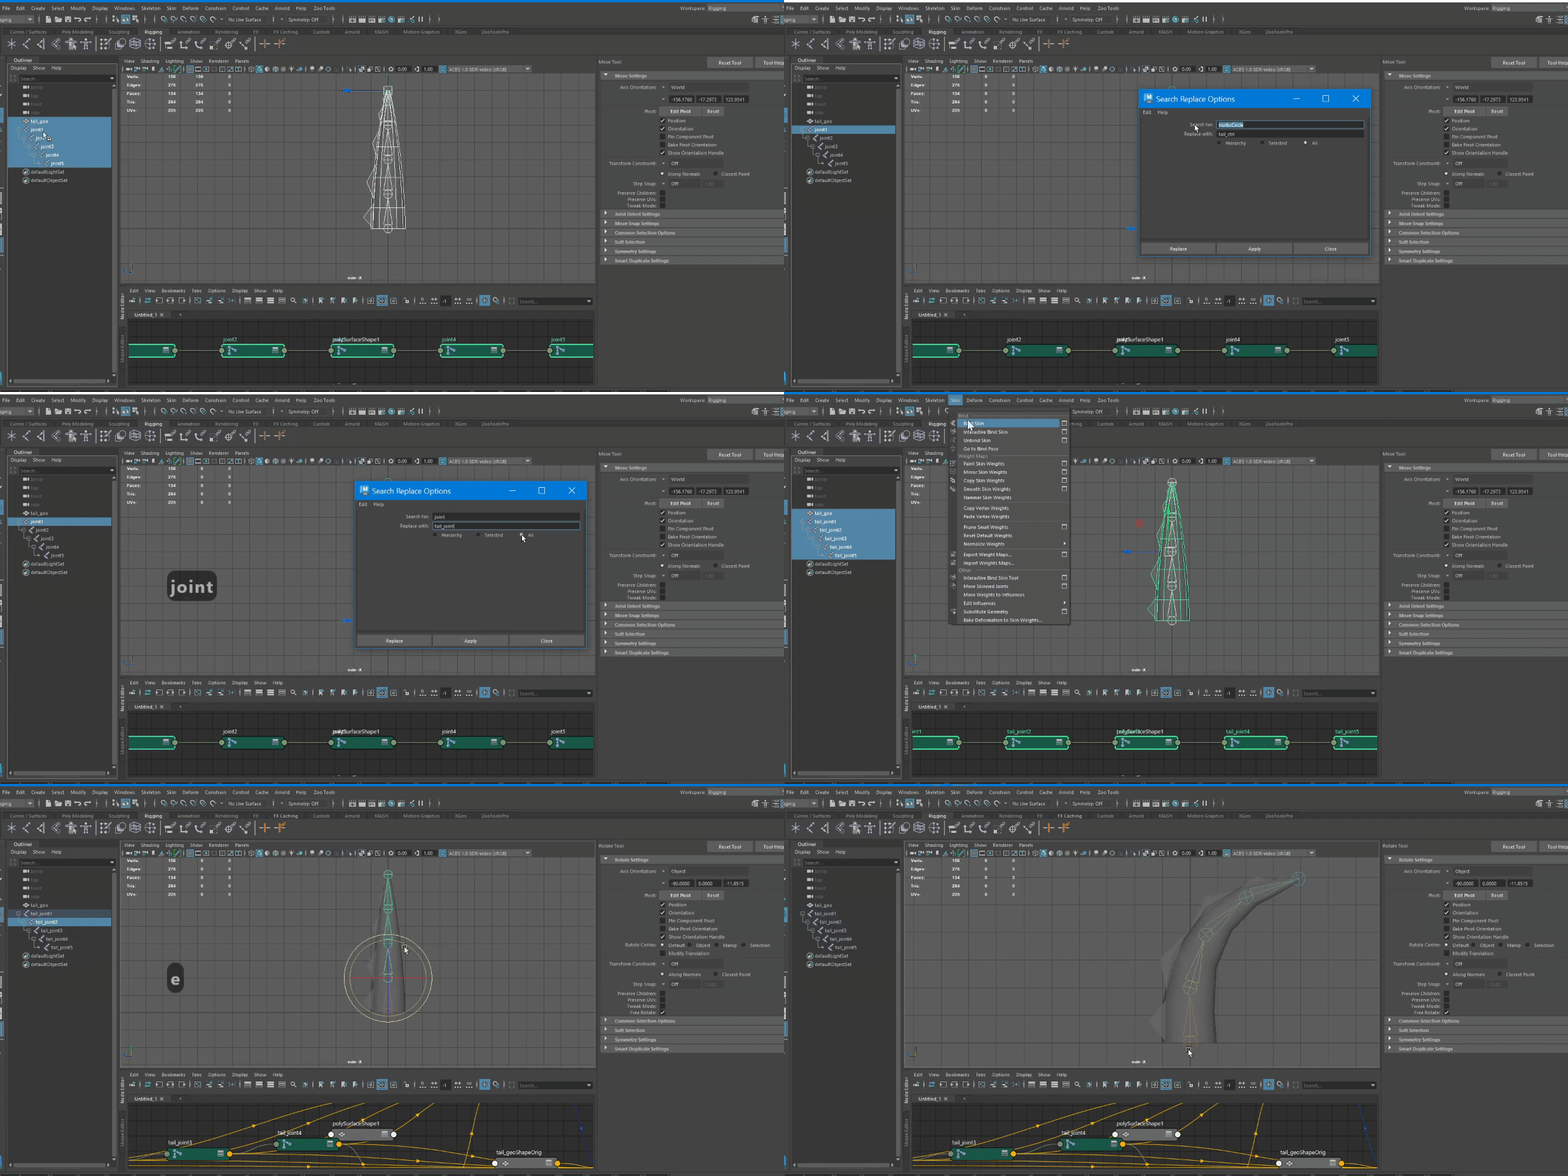
Now let’s rename the joints and Bind them to the mesh. Typically next step is to make sure the joints are bound to the mesh correctly. They are deforming the mesh in the way you intend the mesh to animate. For example, when you move the shoulder, only the arm moves. Torso remains in the same place. Since, this is a simple rig with 4 joints. The weight painting step can be skipped while skinning this mesh. You can test it out by moving each joint after binding skin.
This is where you can paint skin weights.
Controls
Next step is to add controls so that the animator doesn’t have to move the joints for animations. The controls are just NURBS curves who’s transforms are zeroed out. And are constraint to the joints. So when you move the curve you move the joint. Moving the controls over moving joints makes it easy to key frame animations. Sine the transforms are zeroed out. Also since the joints are bound to the mesh. If you break something in the joints then you have to reskin the mesh. You’ll loose all your weight painting. Which is a time consuming task during the rigging process. Whereas the controls act as a medium between joints. That way if you break the controls you can just delete and add them back in.
Now let’s create the curves, position them on the joints. Rename and reparent them.
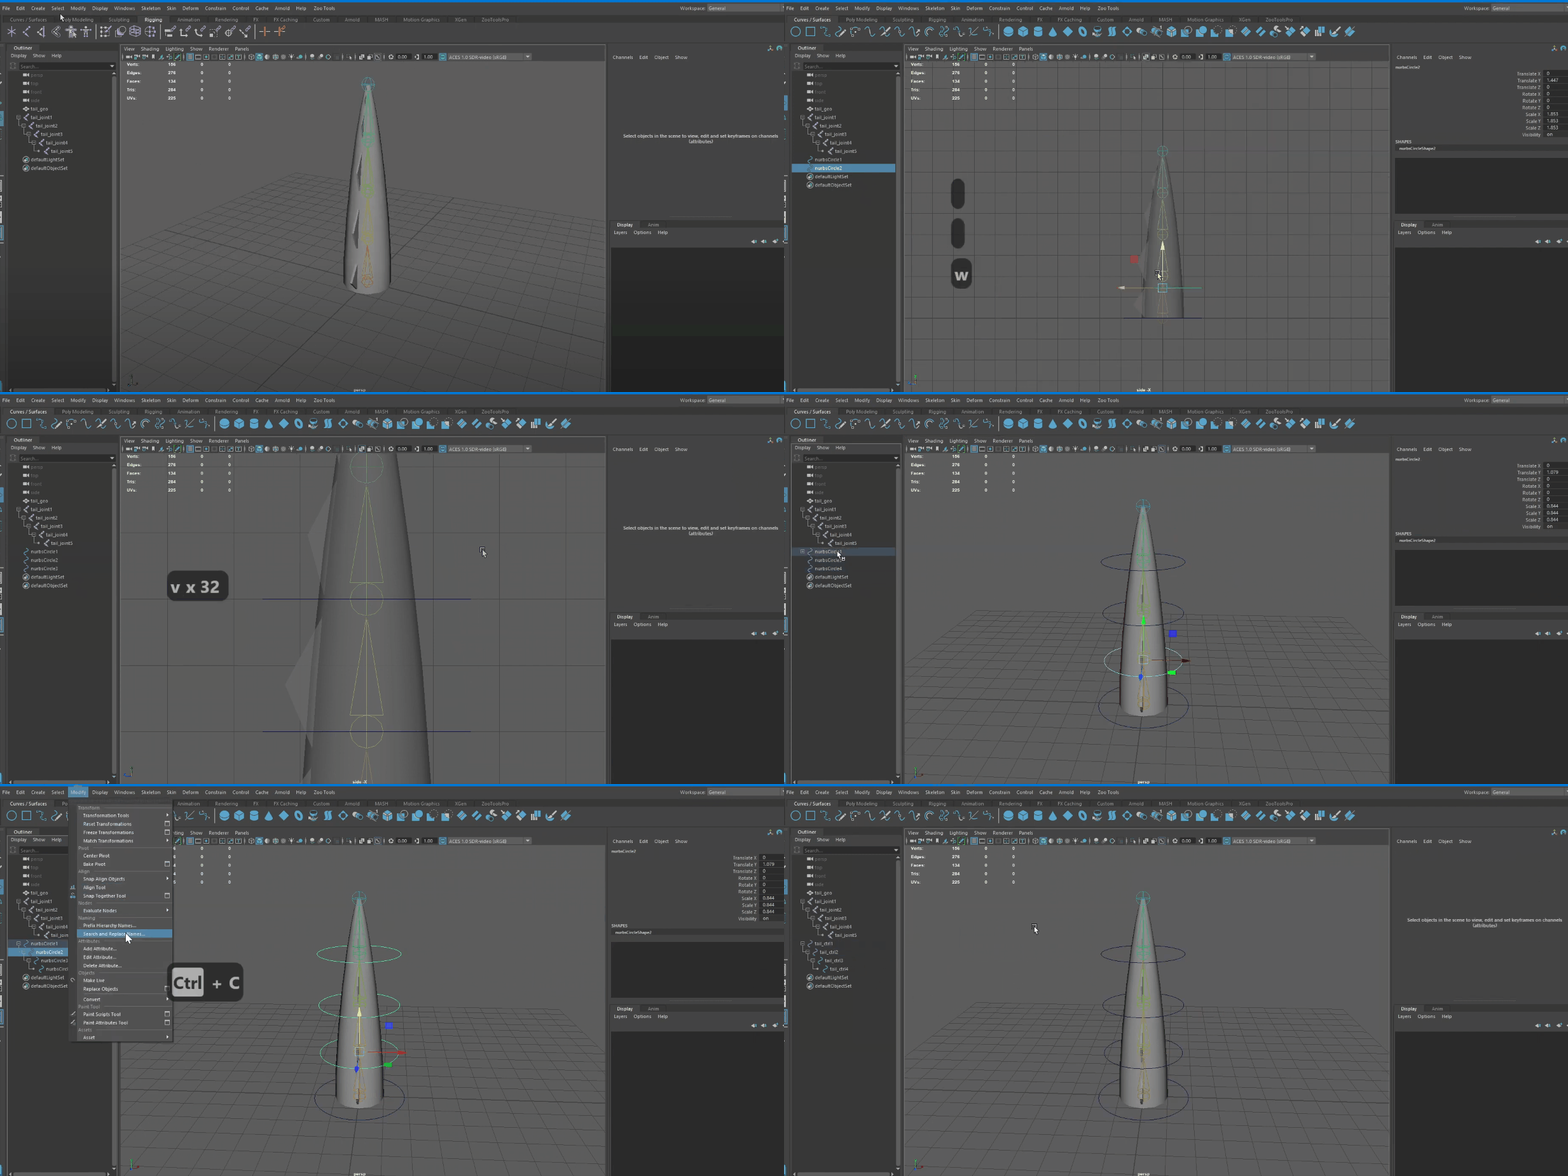
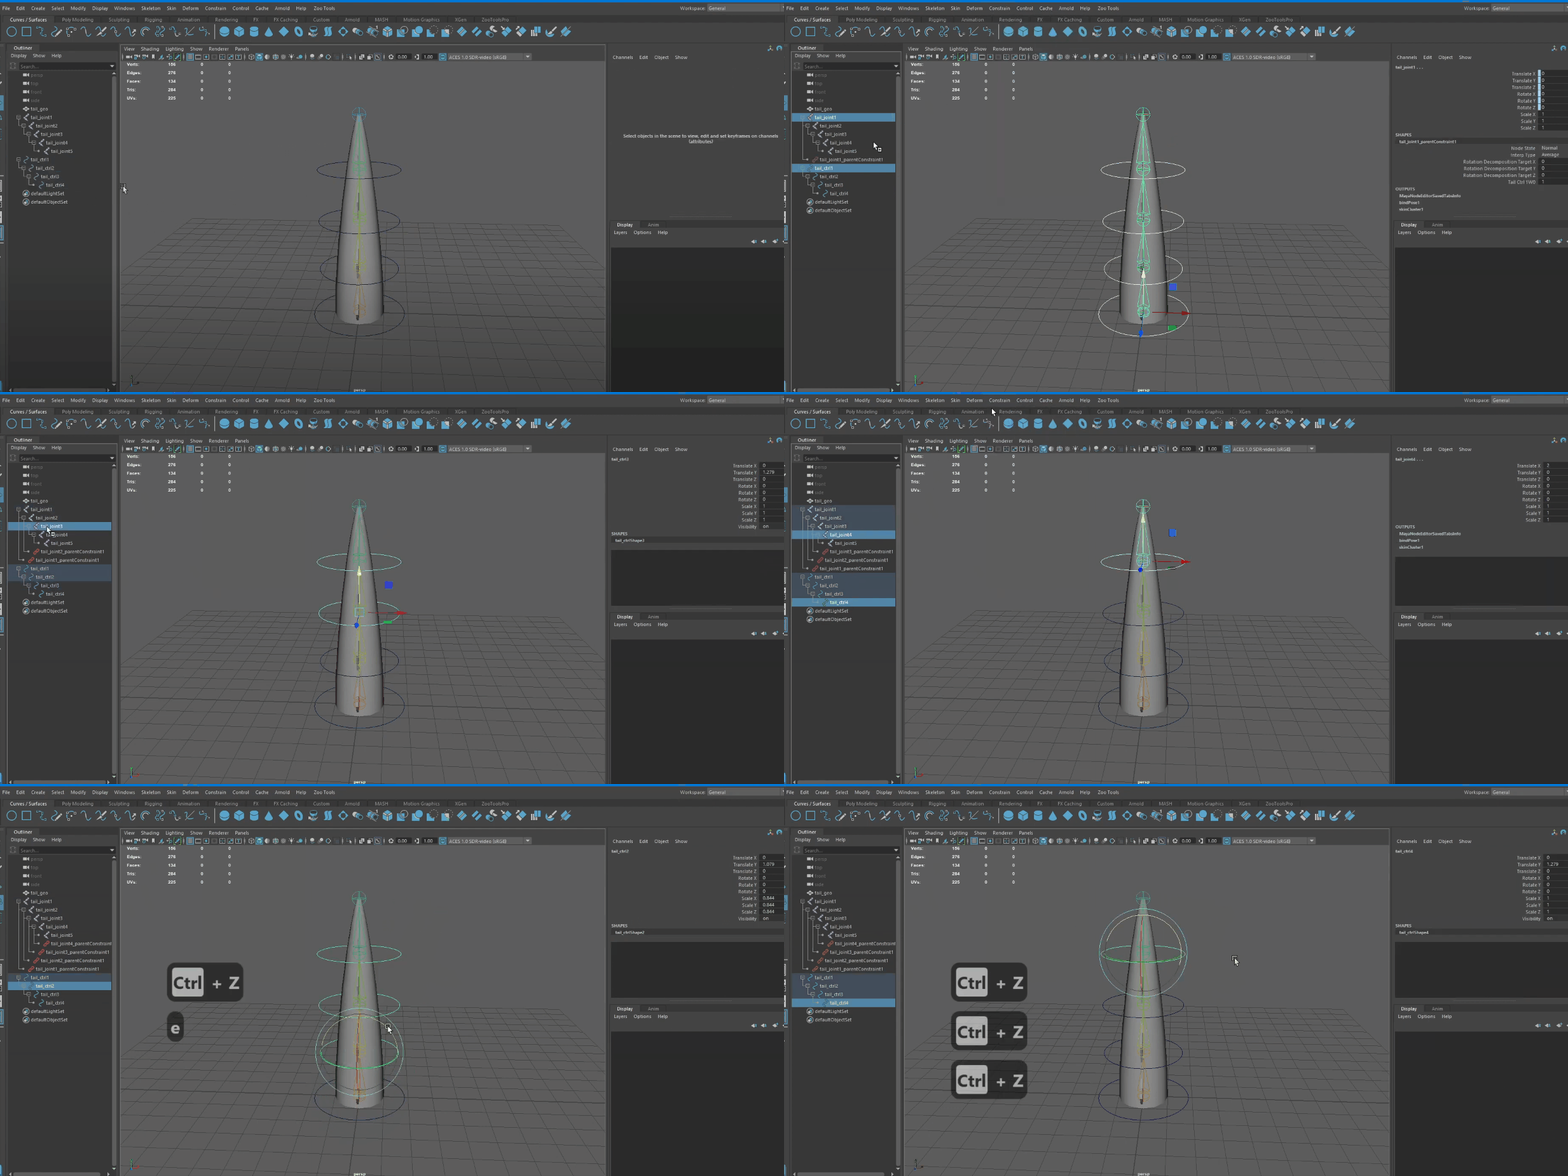
In the next step, we Parent constraint the curves to the Joints. So that whenever you move the curves the joints move accordingly.
Animation
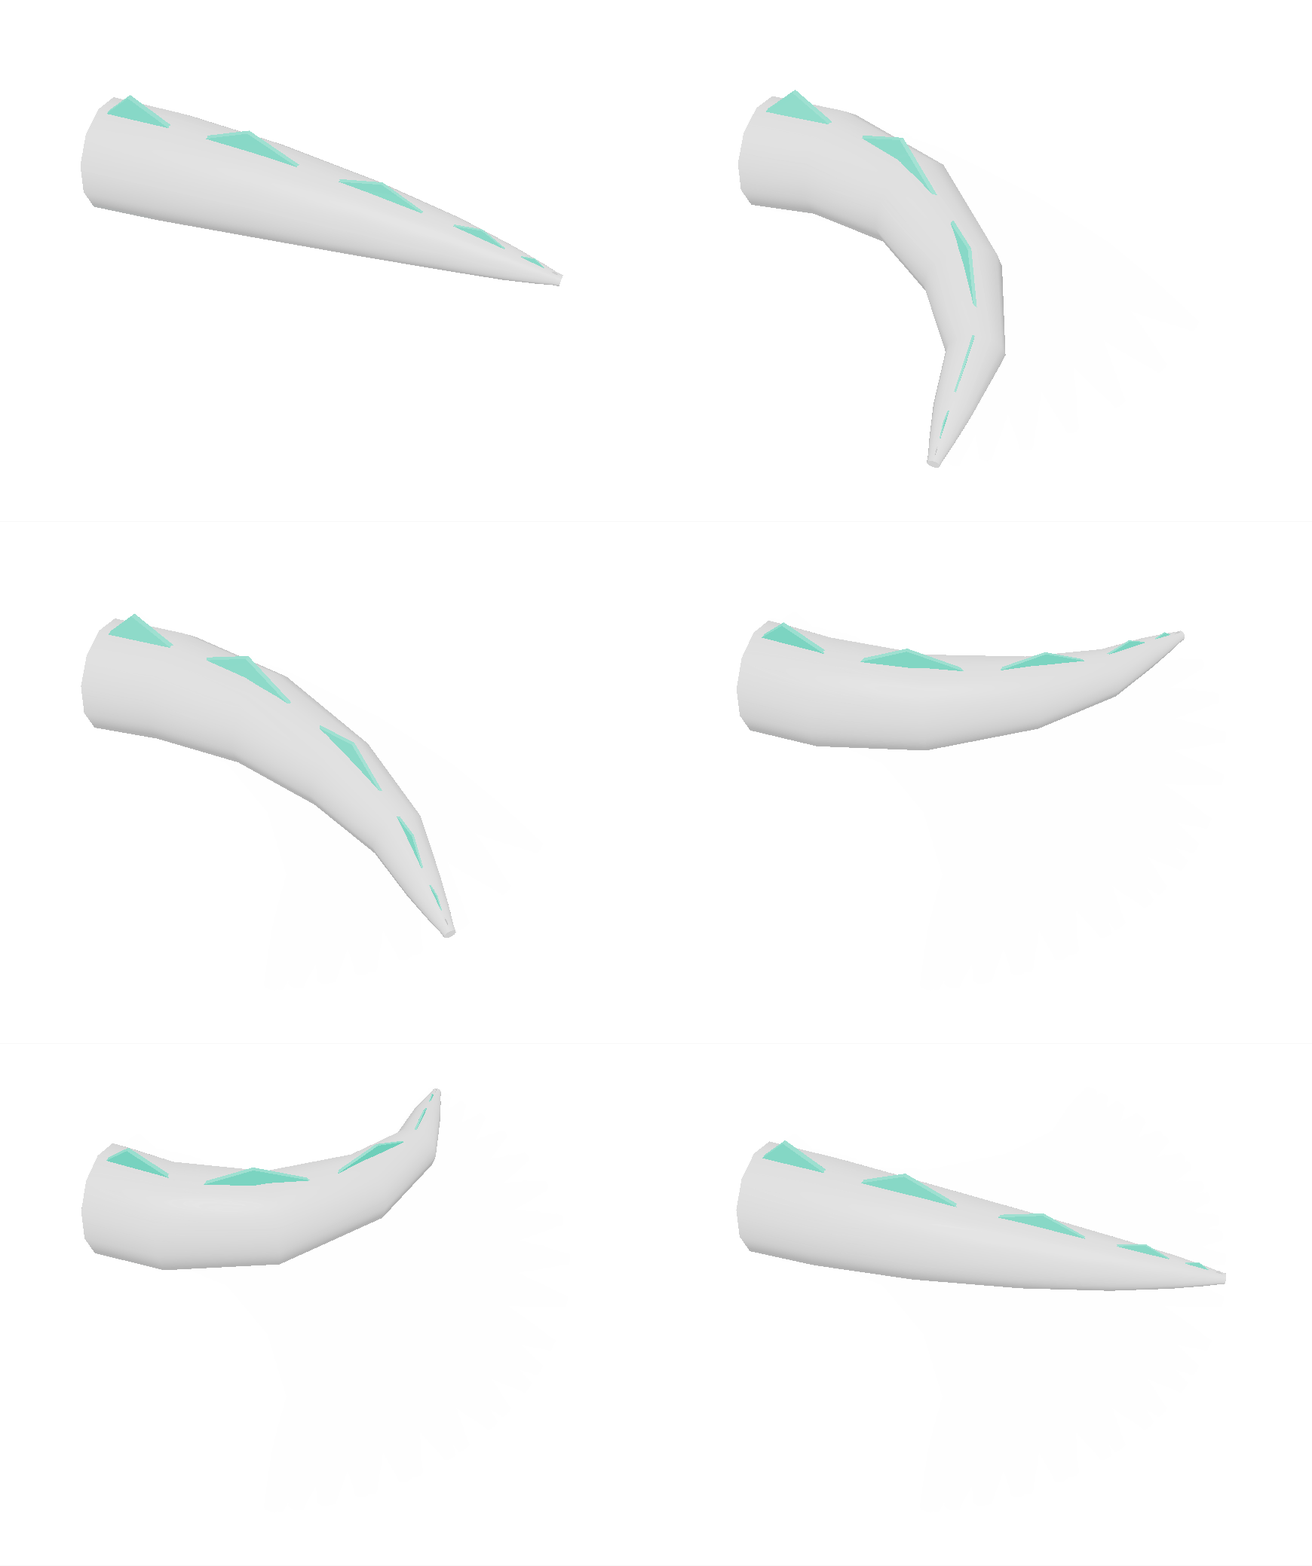
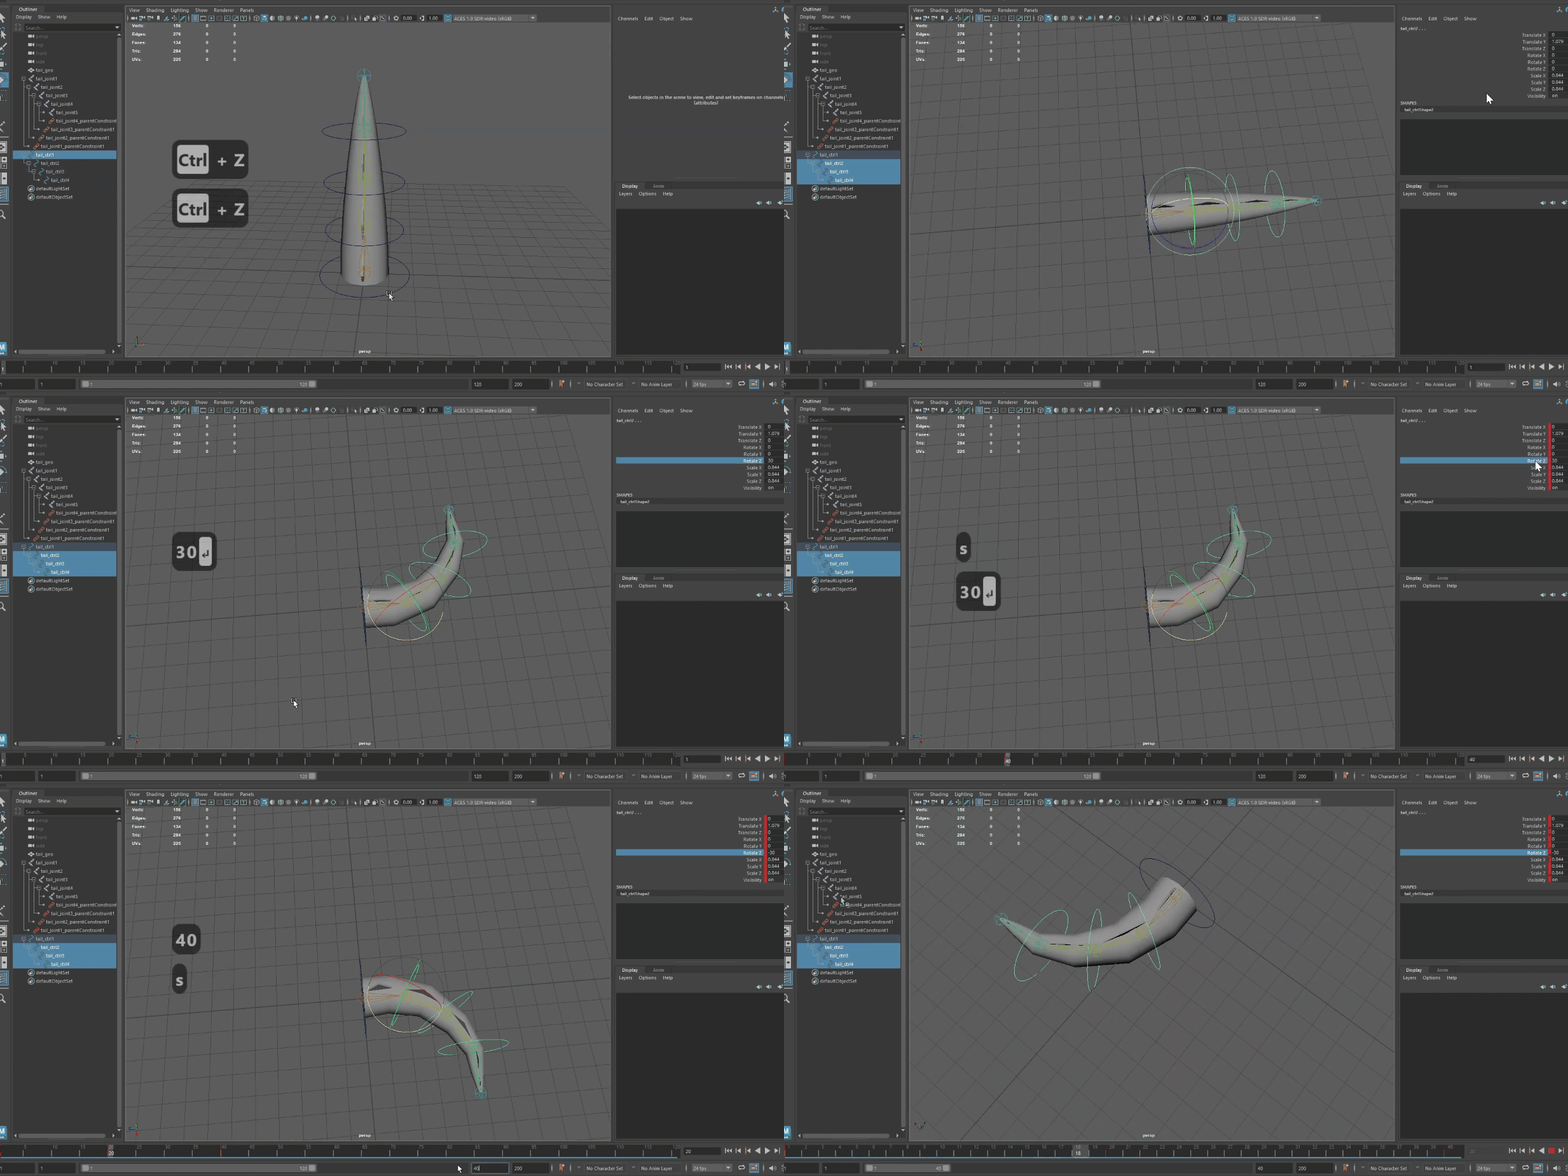
Now we’ll do quick idle tail wagging animation with all this setup.
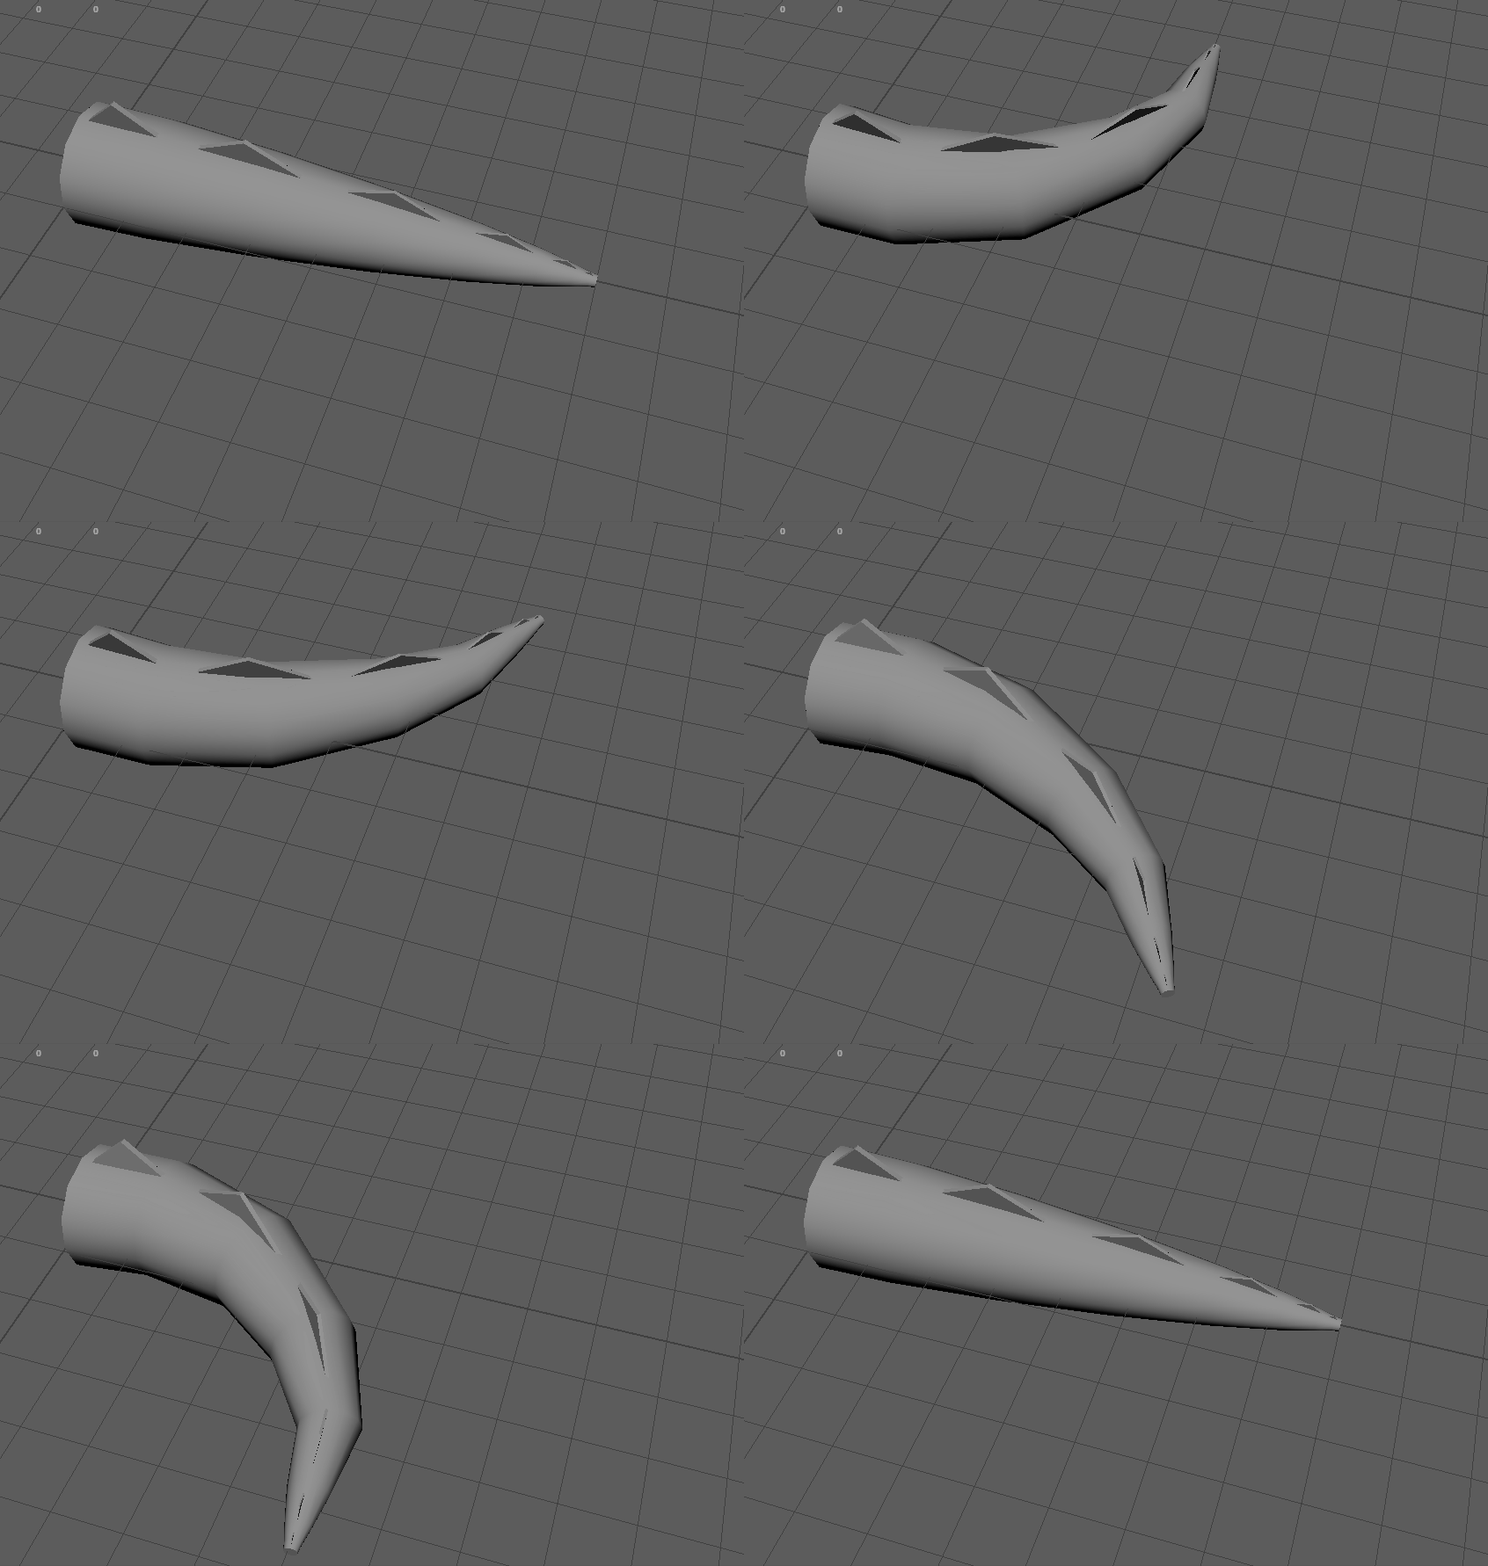
This is how the final animation looks like with all the curves and joints hidden.
Here’s the video I made for this tutorial. Which covers each of the steps discussed above.
